This is a short photo story of a mud kitchen that never was and never will be, and how I made it.
What is a mud kitchen?
A mud kitchen is a workbench of sorts for toddlers and small children for creative and free play. Designed to let them have messy fun in the garden and use their imagination as they create things from sand, mud, and water.
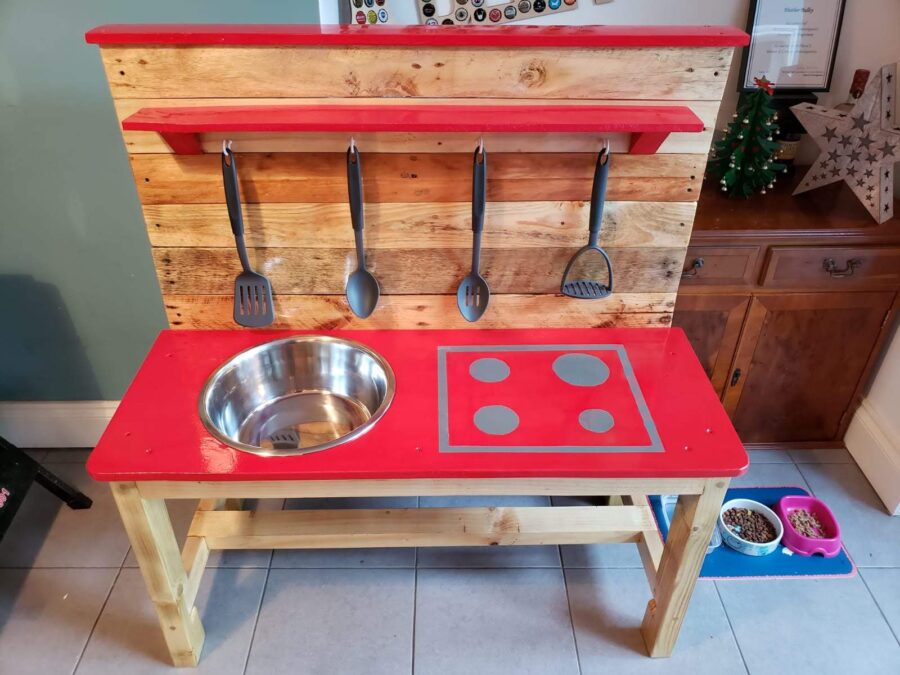
A typical mud kitchen as made by a friend
The brief
Build a mud kitchen for my son during lockdown.
Or to paraphrase my wife:
“Make it look like the ones on Pinterest or that lovely one your friend from work built.”
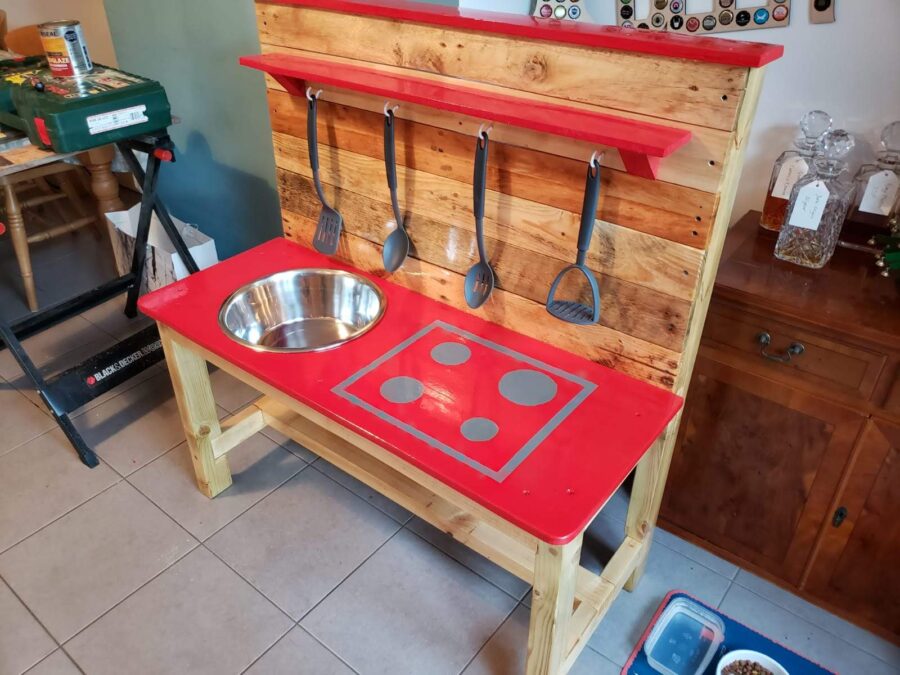
Dog bowl, check. Fake cooker, check. Utensils and shelves, check. Nicely finished wood, check.
The specifications
Use only materials already at home in my limited supply of off-cuts and bits of wood leftover from previous projects (except for a suitable stainless steel dog bowl to be ordered from Amazon). At this time the likes of B&Q were still closed apart from for the purchase of materials for urgent house repairs.
Step 1) Measuring up and taking stock
My first action was to head to the shed and lay out every piece of 2×4, furniture board, sheet good, decking board, scaffold boards, and other miscellaneous off-cuts I could find. I measured each and every one and scribbled the details in a notepad.
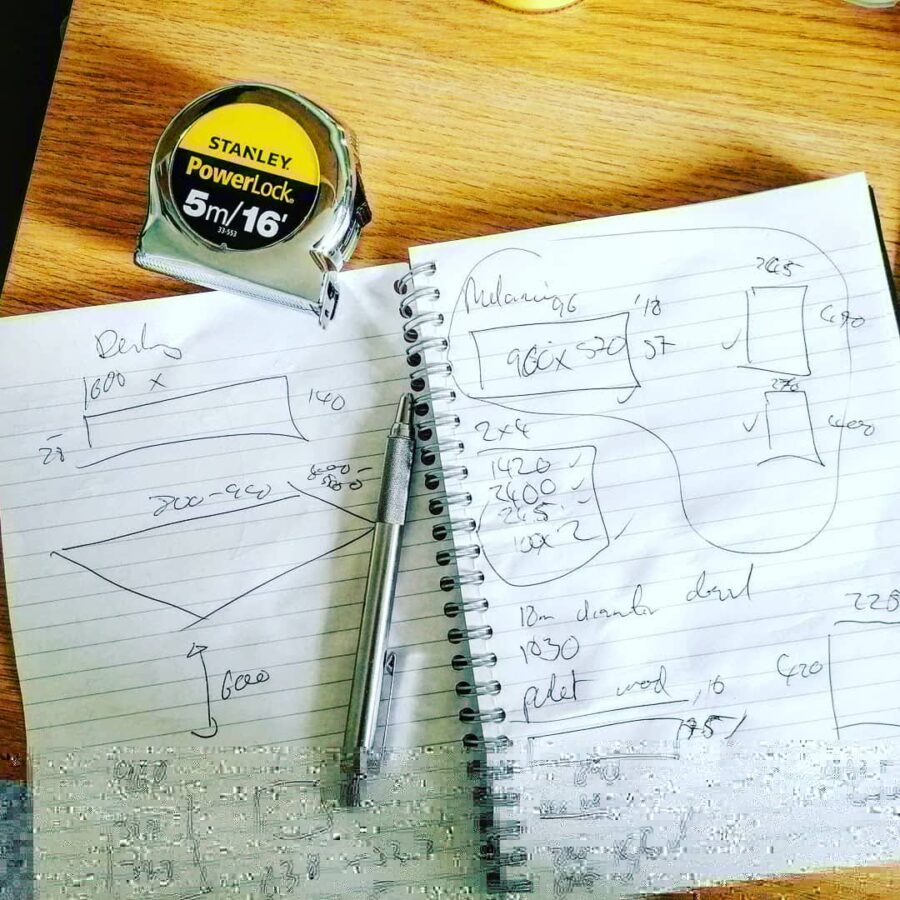
You’ll just have to accept this garbled photo of the notepad as proof any of this happened
Step 2) Creating a virtual stockpile
My notepad full of scribbles was combined with a rudimentary knowledge of Sketchup 3D. Using these things I set about creating a virtual wood pile and knolling it. I also extruded a semi transparent box with the general dimensions to aim for. I based these dimensions on a few off-the-shelf mud kitchens.
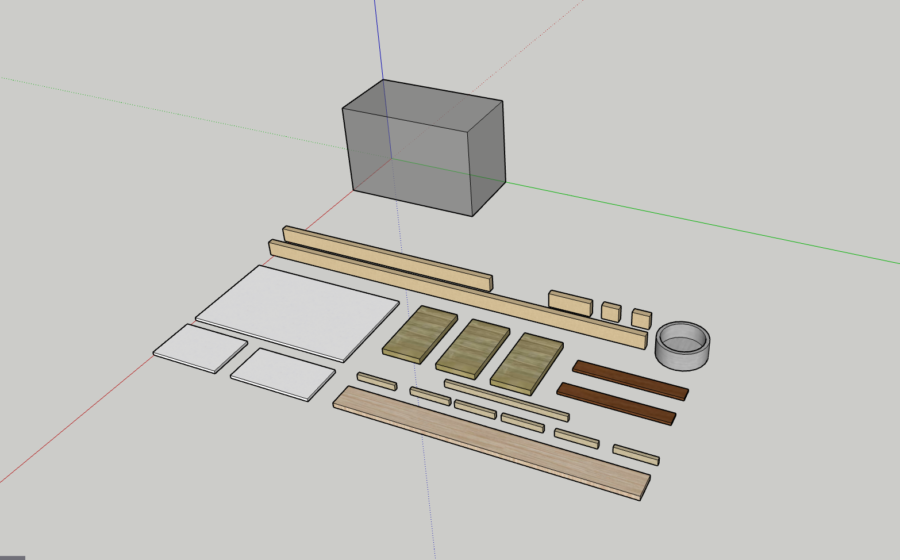
Neatly knolled and grouped by material, my virtual lumber
Step 3) Measure and cut as much as you like.
Armed with a head full of example designs, a virtual stock of lumber, and some time to kill – I began “assembly” in virtual space. I worked through multiple iterations to come up with a design that made more efficient use of the materials available. It was a fun challenge with limited materials and the end result was presented to my wife.
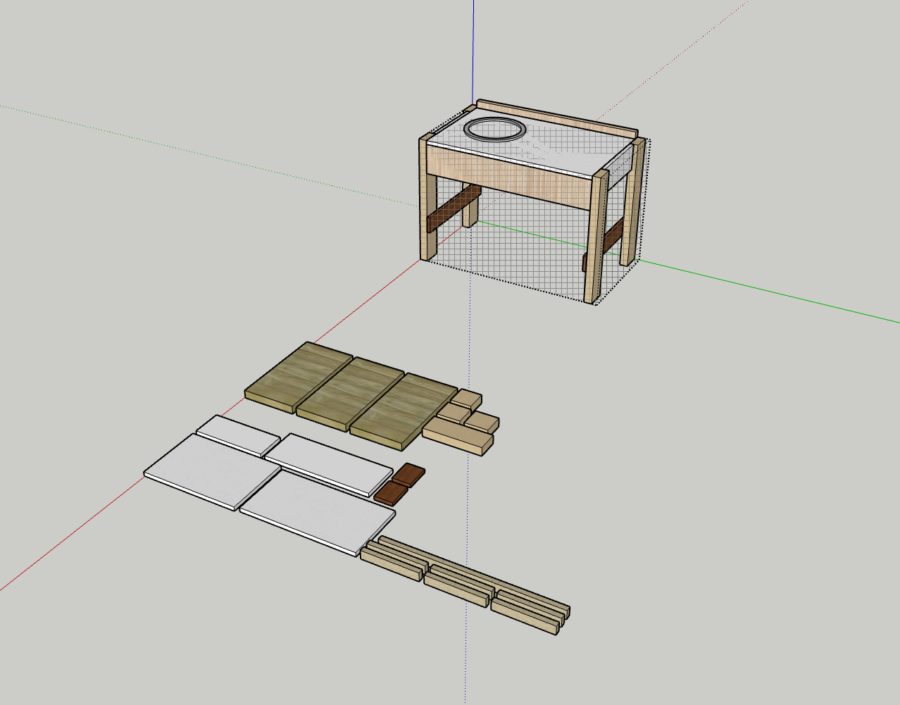
The “finished” design and the unused pieces
Step 4) Changing the brief
Unfortunately, it was decided that the result (due to the limited the materials to hand) wasn’t quite what she had in mind. We’d need to buy a small amount of additional lumber when we were able to again to add a back, doors, lower shelf, etc. So I placed it on hold for a week or two.
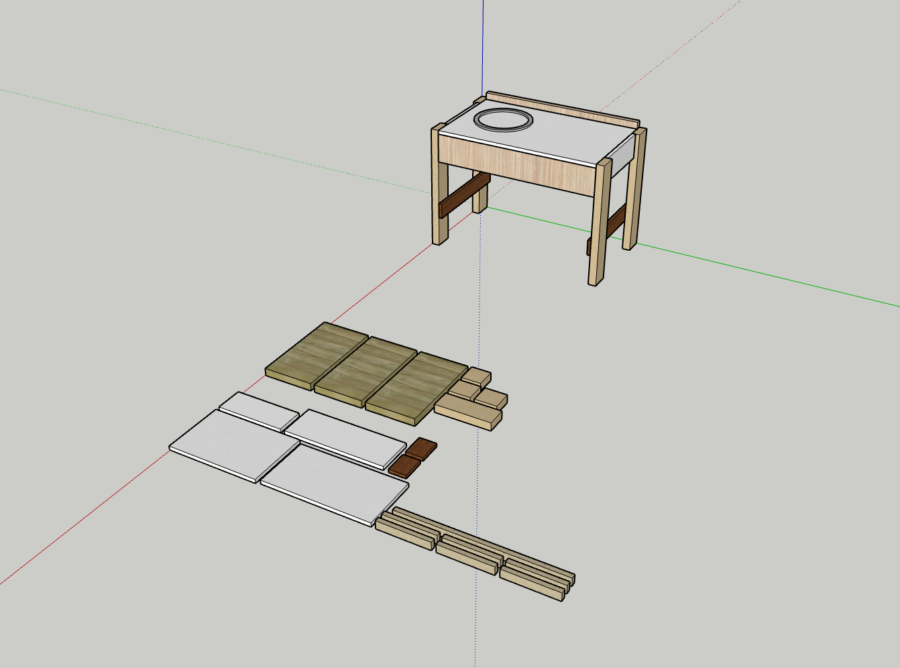
Good, but not good enough
Step 5) Scrap everything *plot twist*
During this hiatus my wife won a Facebook giveaway for a commercially made mud kitchen. So that is what we now have. Problem solved!
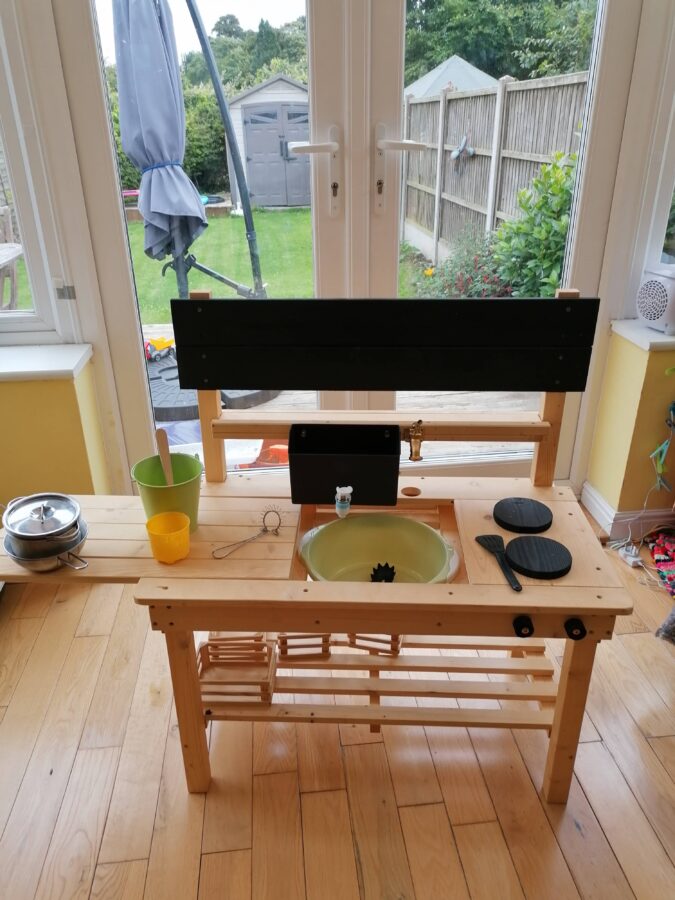
Needs some final touches and a few elements aren’t what I’d have chosen – but at least it’s real
Wrapping up
Needless to say my son loves it.
He’ll also never know about the mud kitchen he might have had instead.
The mud kitchen his dad designed and built for him in virtual space during lockdown.
The mud kitchen that wasn’t…