A simple lockdown project of creating some rustic shelving from scaffold boards.
The design
I worked on a design in Sketchup 3D so my wife could experiment with different configurations and this is what we settled on.
The idea was to create a look like the shelves continue through the chimney breast. We also decided to use staggered lengths to make it feels less uniform and monolithic – whilst also accommodating the desk.
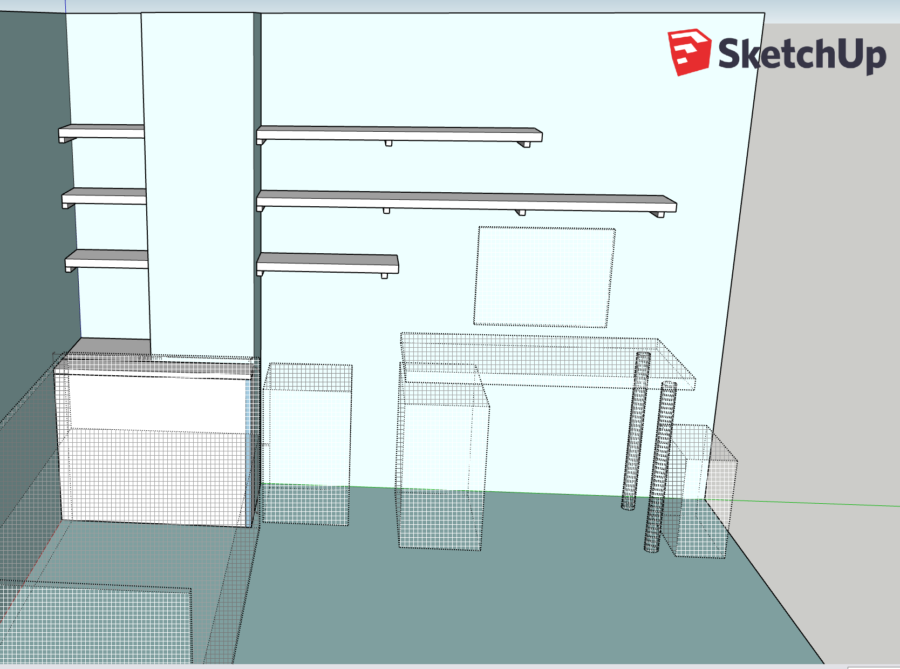
The design
Buying the boards
A quick trip to B&Q got me the 3 scaffold boards I needed to complete the shelves. I was eventually able to find three I was not entirely unhappy with by going through a pile of twenty. It turns out that scaffold boards aren’t selected for their aesthetics or finish. Who knew?
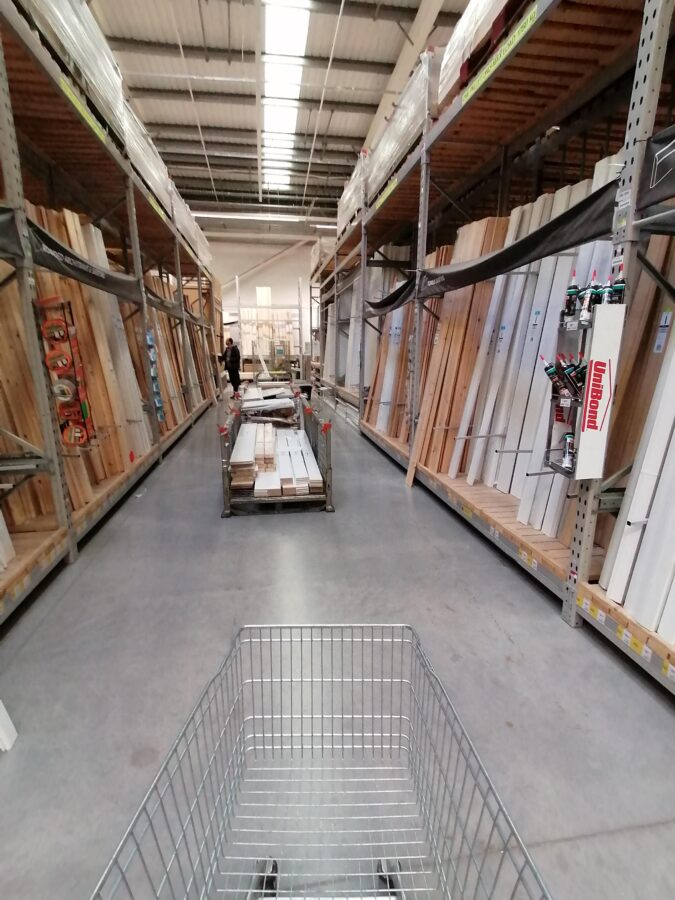
Buying wewd at the wewd shop
Brackets and battens
We selected some rustic heavy duty brackets from Amazon for the main supports. These wrap up around the back of the boards so will be mostly hidden by the books, etc.
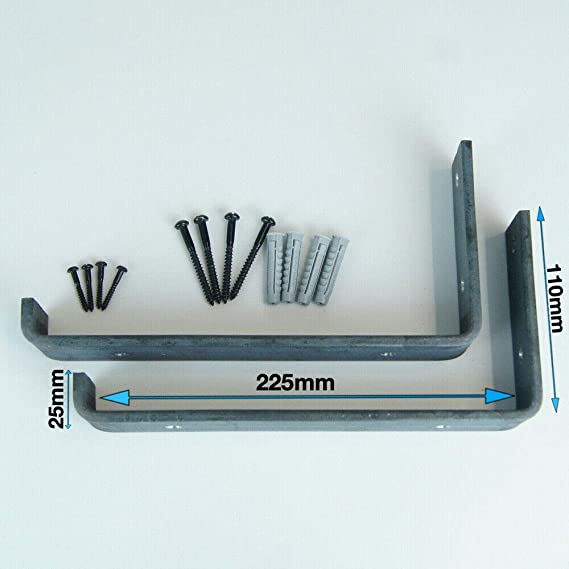
These heavy duty rustic shelf brackets were just the look we were after
For the ends where they meet the walls I didn’t trust myself to chisel out a neat enough recess without damaging the ends or weakening them too much. We decided instead to have simple wooden battens for the boards to rest on. These would be screwed into the end wall and then fixed to the boards themselves with 6 mm dowels.
To do this accurately I ordered a Wolfcraft dowel jig to make sure the holes were centred. I also included with this purchase a set of dowel drill bits to help with drilling consistent depth holes and dowel centre points to mark the location for the holes in the end of the board. This added to the overall cost of the project but I can now include dowels in any further woodworking projects I tackle.
Once drilled and dowelled the battens were primed and painted with the same paint as the walls were when we moved in. To help them blend in.

A simple dowel jig from Wolfcraft
Cutting, Sanding and Finishing
A bit of brute force and plenty of swearing and I had the braces removed. I got better at it with each one, but did not enjoy this step. I wore work gloves right up until applying the danish oil out of fear of splinters and metal spikes.
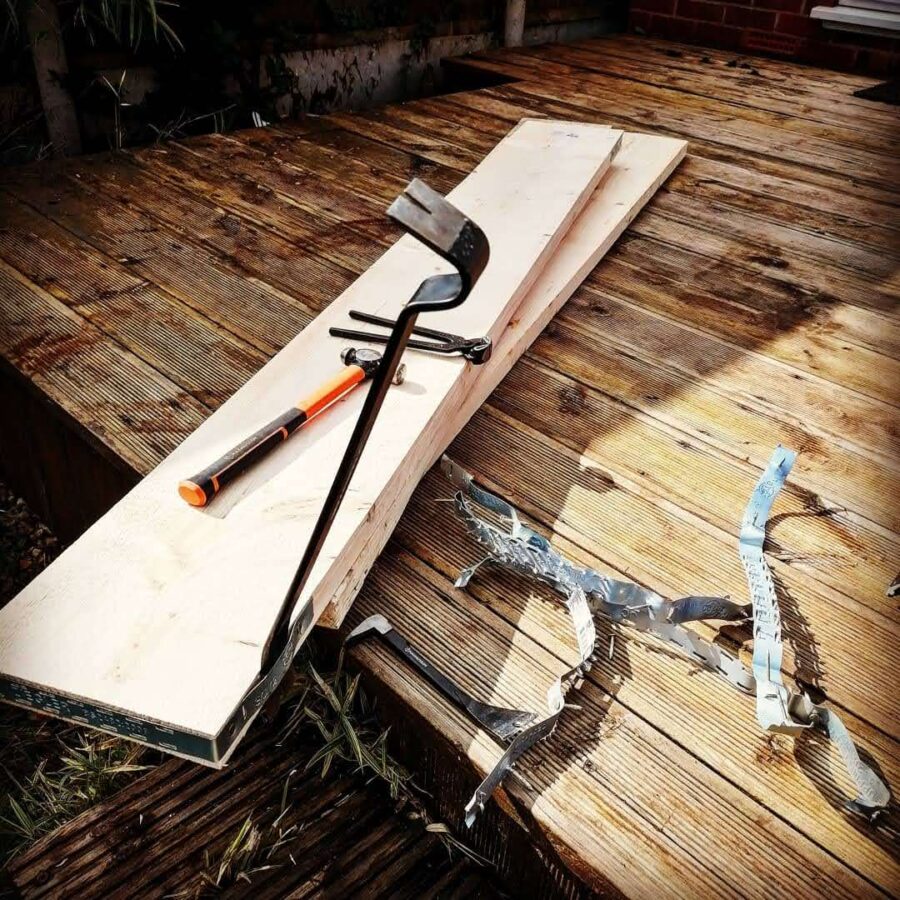
Getting these metal braces off the ends was a real battle – the spikes on them scared me
This is where the bulk of the work was. Marking and cutting was pretty easy with my circular saw and a speed square to keep my cuts at 90 degrees. I purchased a belt sander to do the more aggressive sanding and then worked my random orbital sander up through the grits to 240.
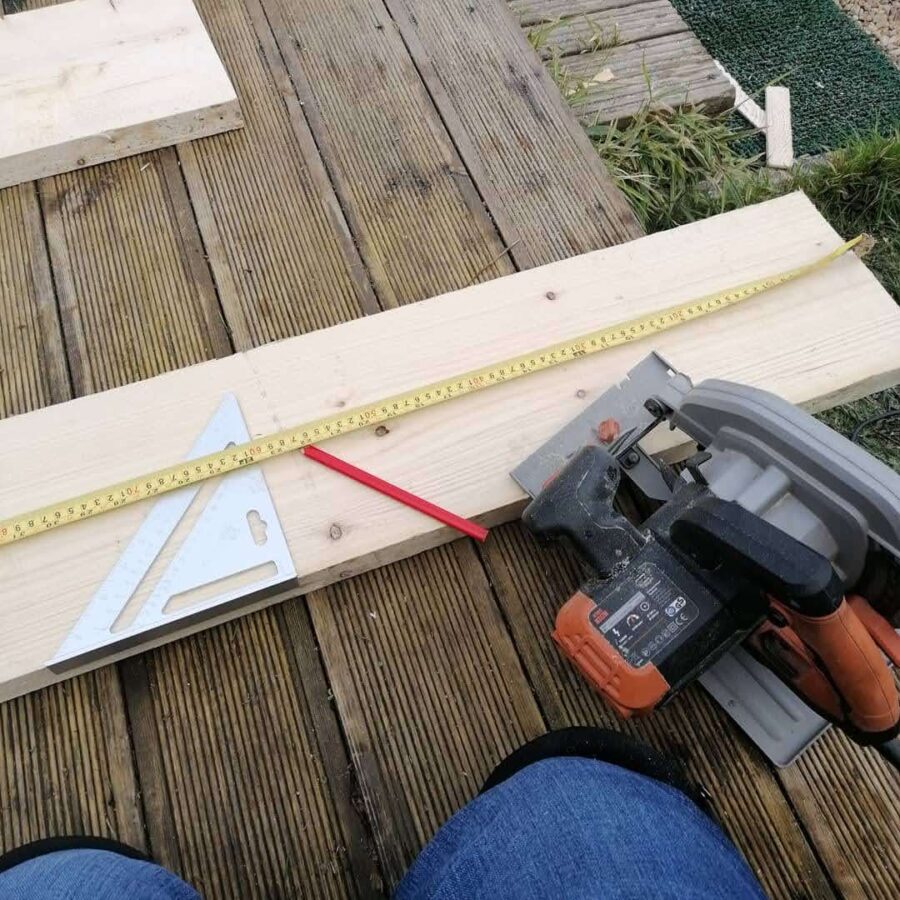
Marking and cutting 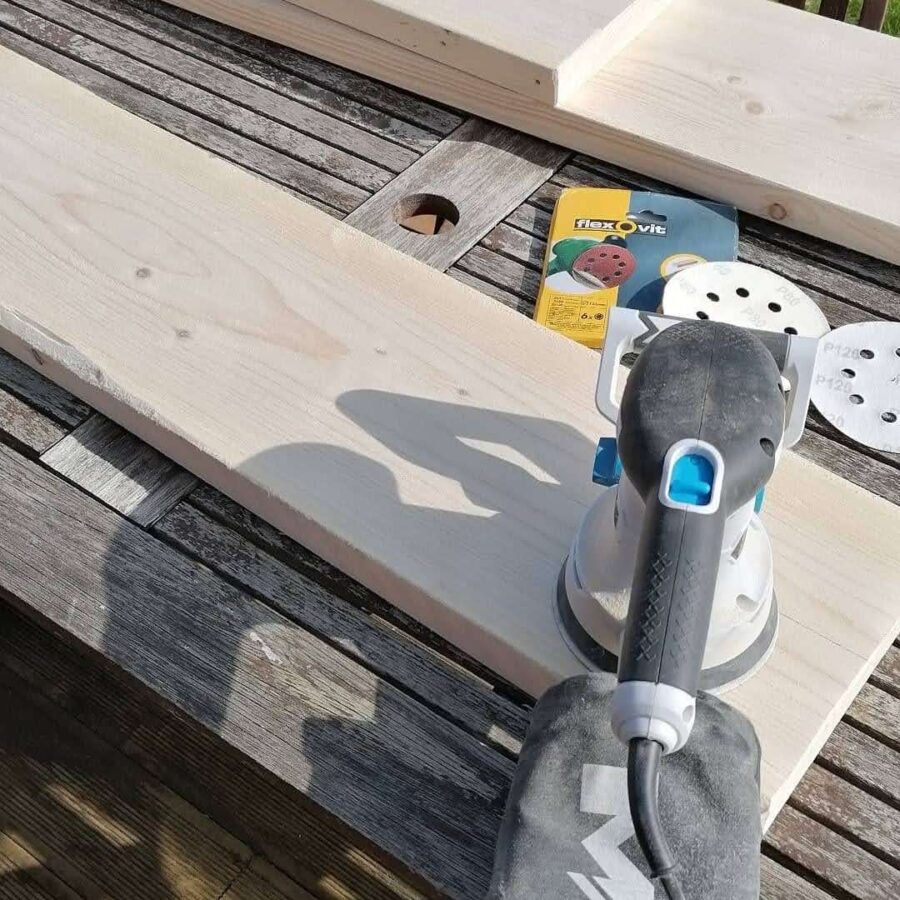
Endless sanding 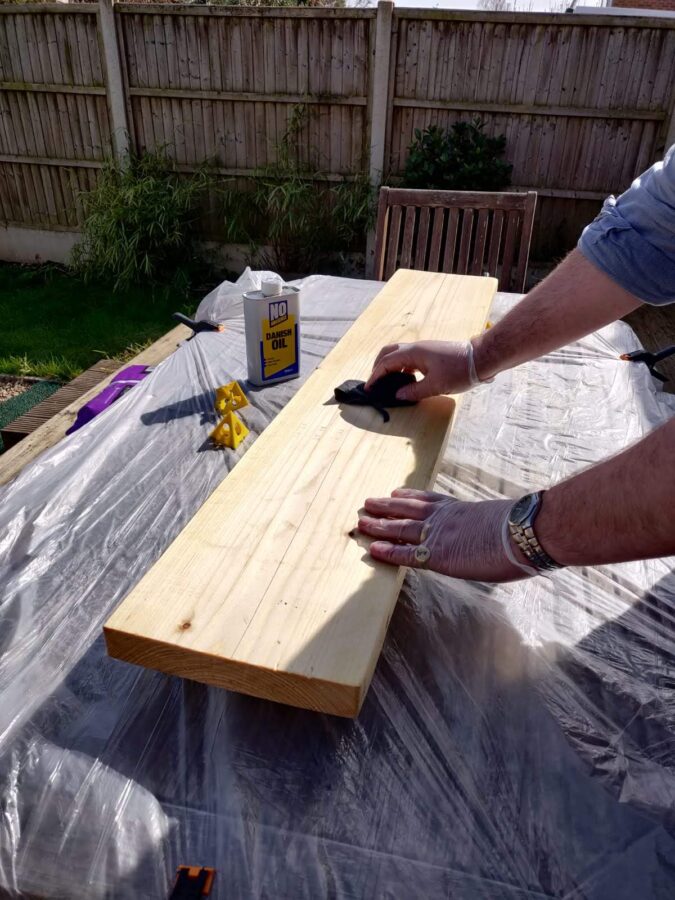
Applying danish oil
Finally, I applied two coats of Danish oil, with a light hand sanding between coats. Thank god for painting pyramids – they really speed up this sort of activity by letting you get cover both sides in one step without waiting for things to dry.
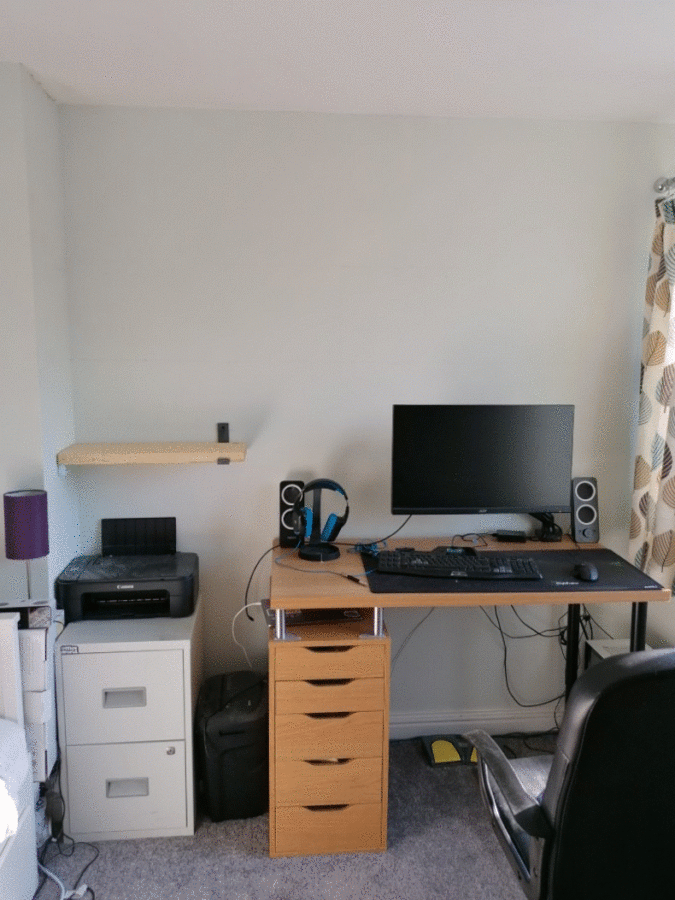
Preparing the space
The designs were then transferred to the wall. I marked out the spacing, and most importantly the locations for the wall battens.
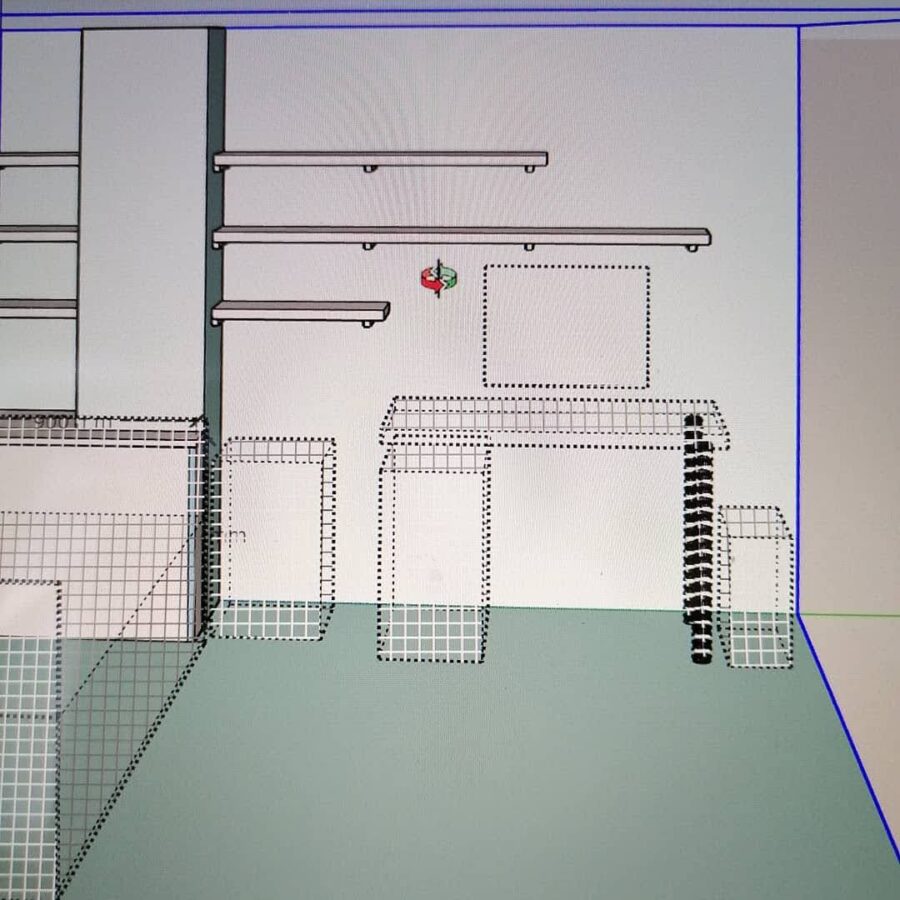
Taking the virtual space … 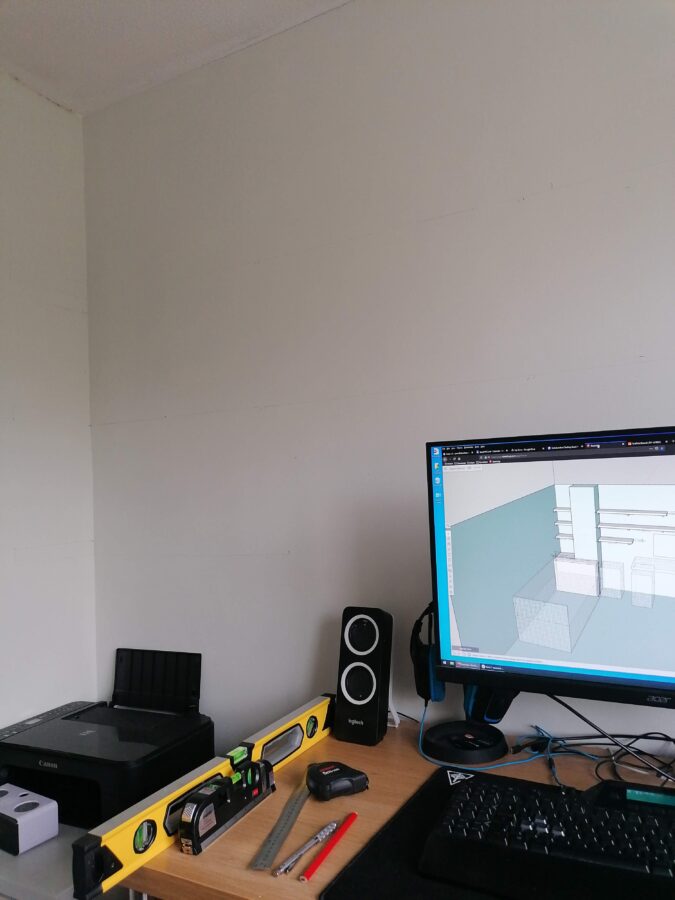
…. and applying marking it outin real space
Up they go
This part I tackled on my own over a couple of lunch breaks:
- Carefully screwing the wooden batten into the chimney breast.
- Screwing the end bracket onto the board.
- Offering up the shelf and end bracket and once level marking where the shelf bracket holes needed to be.
- Taking it down again and drilling and inserting rawl plugs.
- Screw the end bracket into place and place the shelf on again.
- Slide in the other brackets and mark the locations of the holes.
- Take it down again and drill and insert rawl plugs.
- Screw the other brackets into place and place the shelf on again.
The end result was that I have to retrace a lot of steps to get it right. But I did get it done right.
Step 1 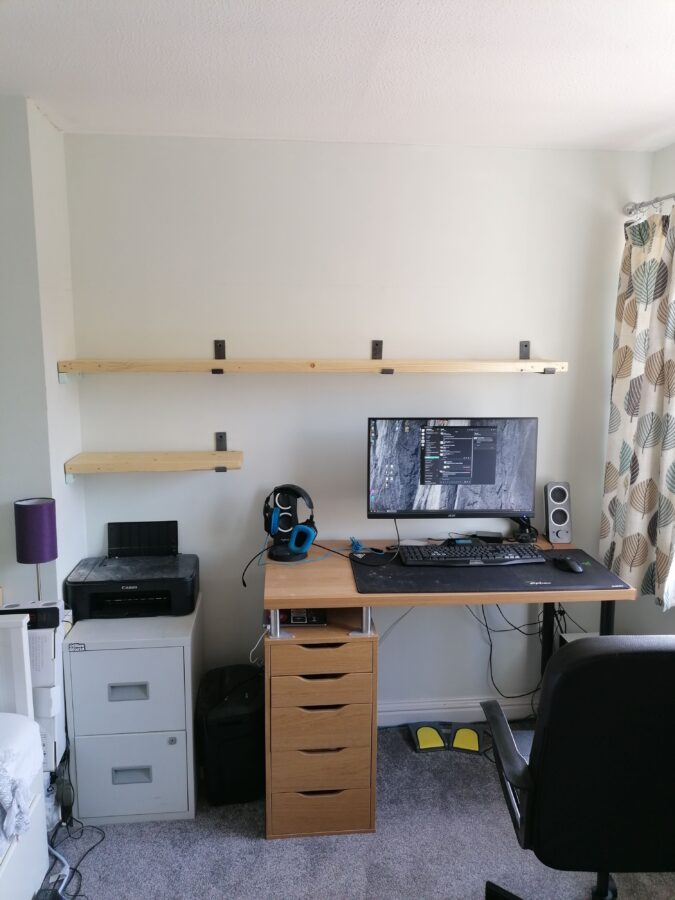
Step 2 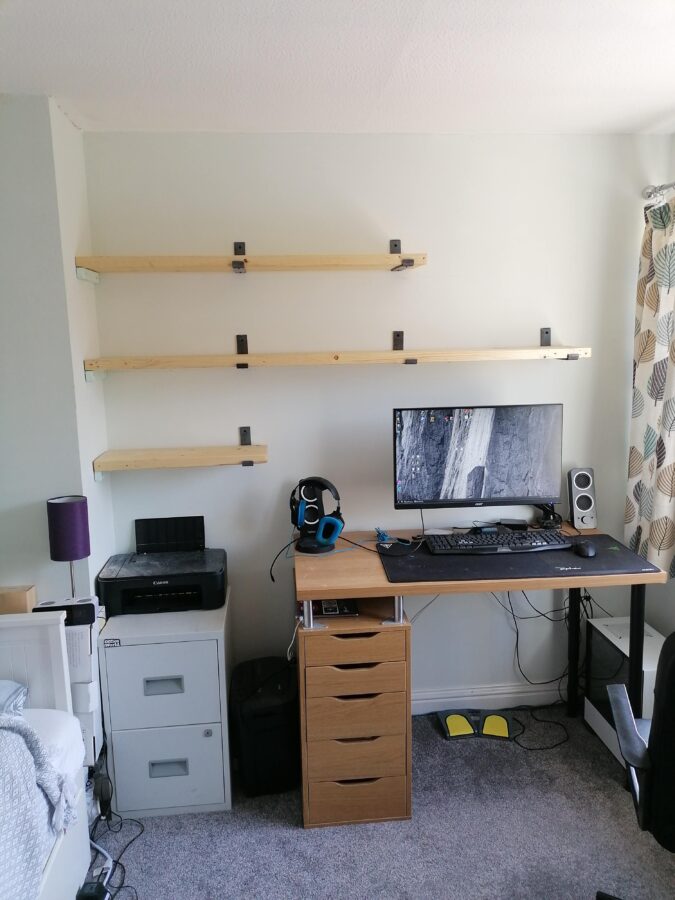
Step 3
Finishing touches
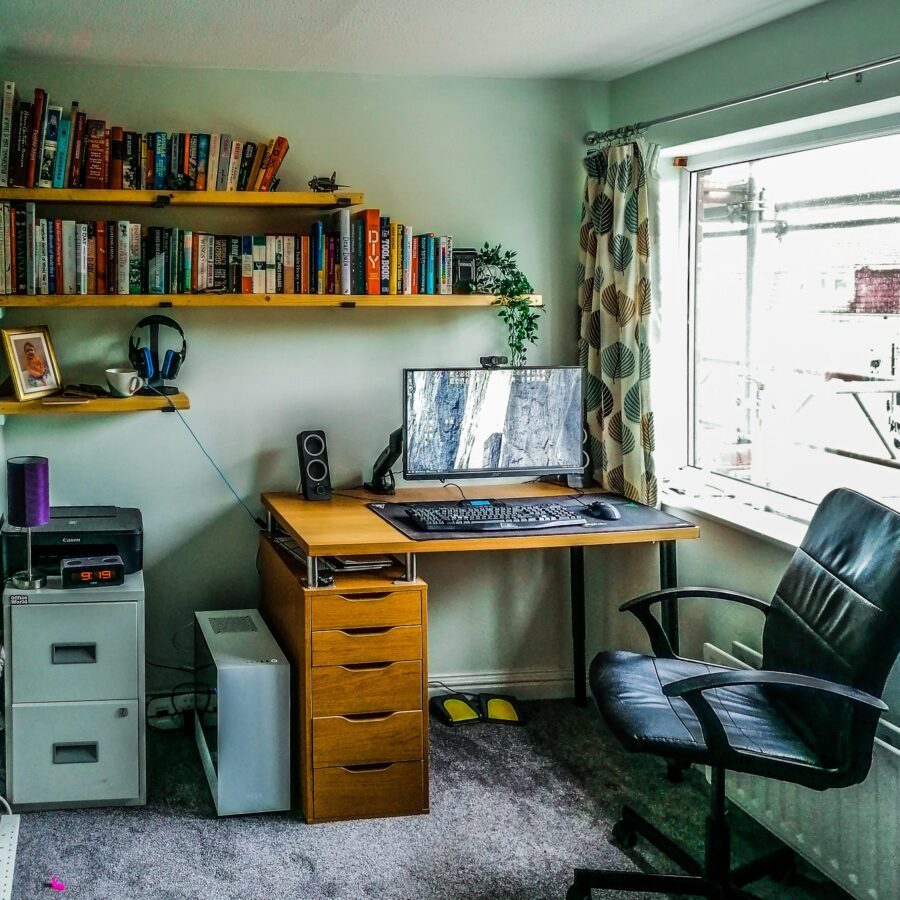
Lastly I added books, vintage cameras, and model aircraft to bring them to life. My wife included the final touches of a fake plant and picture of our son to make it look more homely. They really make it.
Wrapping up
Scaffold boards are cheap but do require more work than you might assume. A lot of sanding is needed to get them looking clean enough, even if you buy new boards.
Also having two people to put up shelves is advised.
Overall though this is a really simple and affordable project to fill up a large wall span and create impact. I love these shelves and the look they give what has become my work space for the foreseeable future.
Next steps
The more astute of you will have noticed the shorter lengths between the chimney and the wall aren’t show. They have been cut but need final sanding and finishing still. Also with the shelves up we have enough storage for now. So the urgency on them has been reduced. One day I’ll finish it…