This is going to be a quick photo journal of some aspects of my build of a Revell 1/241 Millennium Falcon build. I picked this kit up cheap on Amazon for less than £6. Please be aware that it is tiny at under 11cm long. But don’t let the size put you off.
Assembly was a snap
Assembly was childishly simple. There are maybe 16 parts to the whole kit. As already mentioned it is not a big kit and can even be put together without glue if you wish. It’s basically snap-fit.
However, I chose to use Tamiya Extra Thin Cement and some pressure to remove the slight panel gaps.
Primed and ready
Painting was a simple affair. I used Vallejo Surface Primer – Grey to apply a couple light coats from my Airbrush. I also decided to ditched the decals for the cockpit, and the top and bottom turret glass. I instead painted the frames by hand without masking the glass at all.
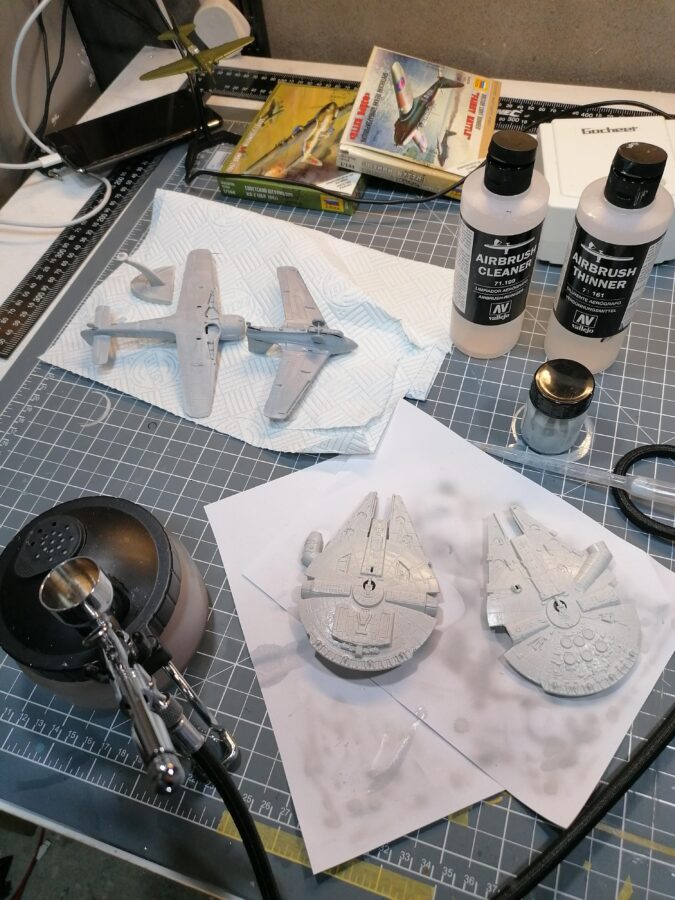
The Vallejo primer seemed a perfect natural base tone 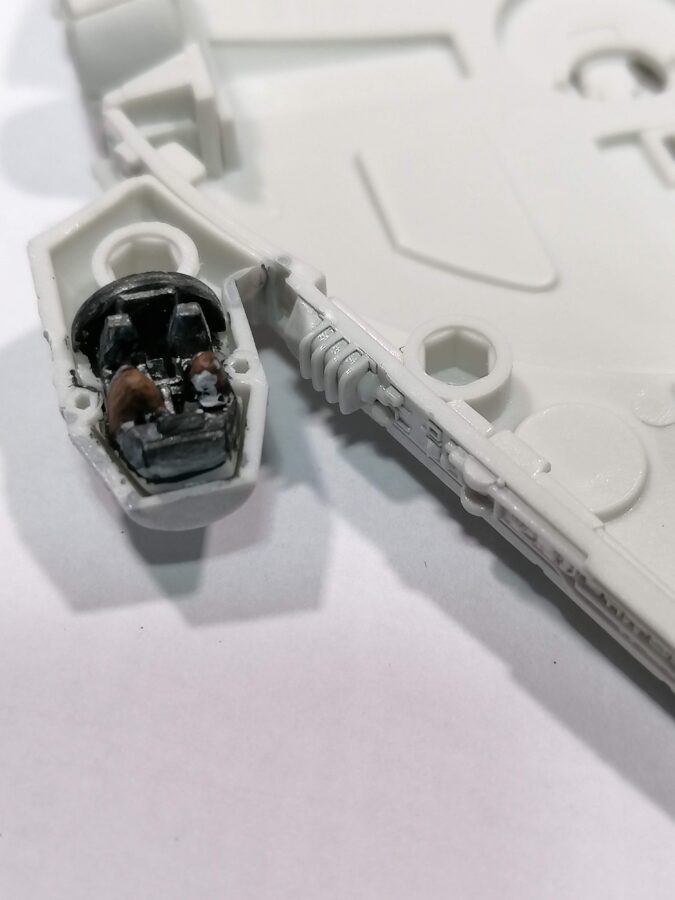
I didn’t get a final shot before I sealed them up … but I had a go at painting Han and Chewie in 1/241 scale
Getting cocky
I wasn’t sure how best to do the Ion Engines and in the end decided to paint a gradient by hand. I’ve seen YouTubers like Miniac explain how to wet blend. I mean how hard can it be?
It turns out it’s harder than it looks, they just make it look and sound easy. So after an hour and a half of applying and overlaying paint and countless and restarts I was happy. I also had a blue mouth from licking the brush frequently – something i need to address in the future.
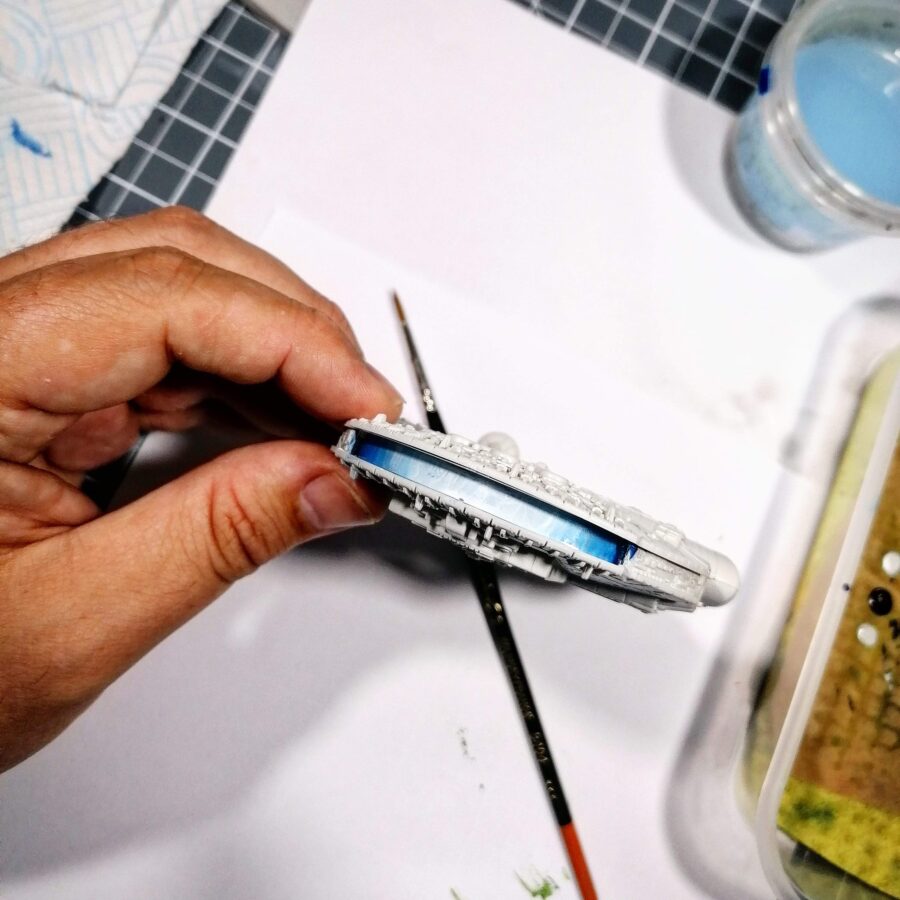
Not the creamiest of blends, but not a bad first time out result
Far too cocky
The kit also came with a bunch of red decals for applying to specific panels. These looked wrong to my eye – just a bit bold and bright. I also thought, how hard can it be to neatly paint some raised panels. It turns out it was harder than it looks at this scale.
I also decided to compound the mess I was making by randomly painting some other panels in greys and browns to break up the uniformity a little. Again I free-handed this with sloppy results.
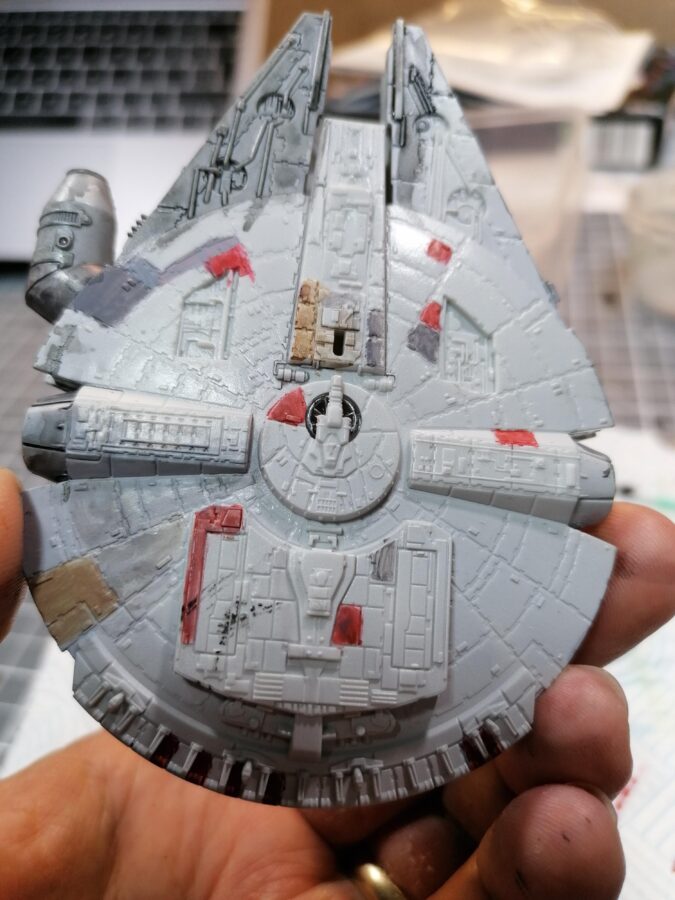
Sloppy yes, ruined, maybe …
All washed up
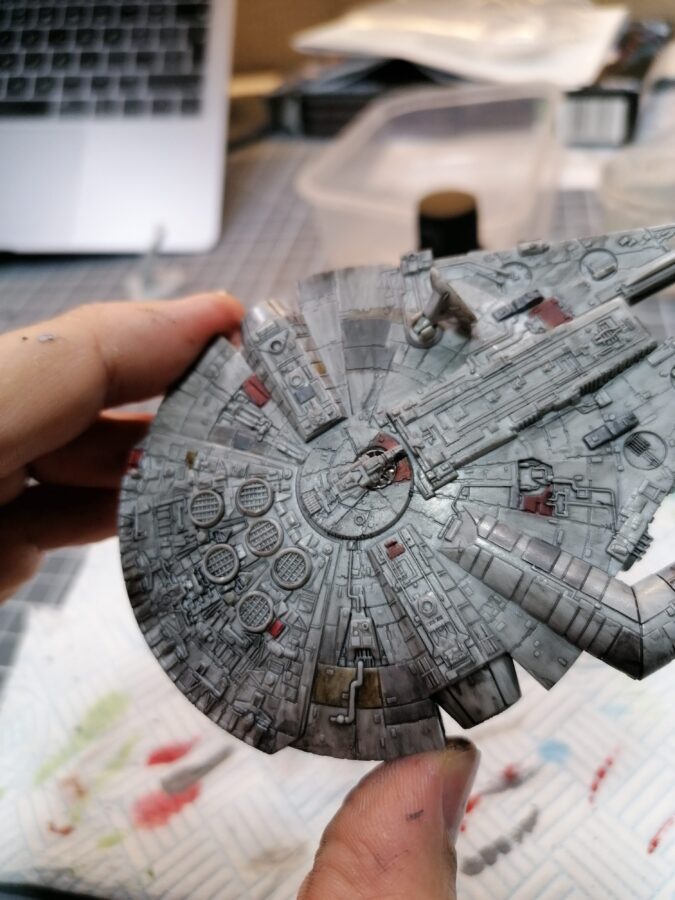
I was feeling a little disappointed at how this was going, but decided to press on anyway and get it done. This could just be one of those kits that serves as a learning experience. So with a quick couple of coats of gloss varnish I moved on.
Out came the only wash I have, a Vallejo Black Wash.
I applied this liberally hoping it would:
- Pick out the panel lines to give greater detail and definition
- Build up some grime up the model and knock back any shine
- Level out the panel highlights.
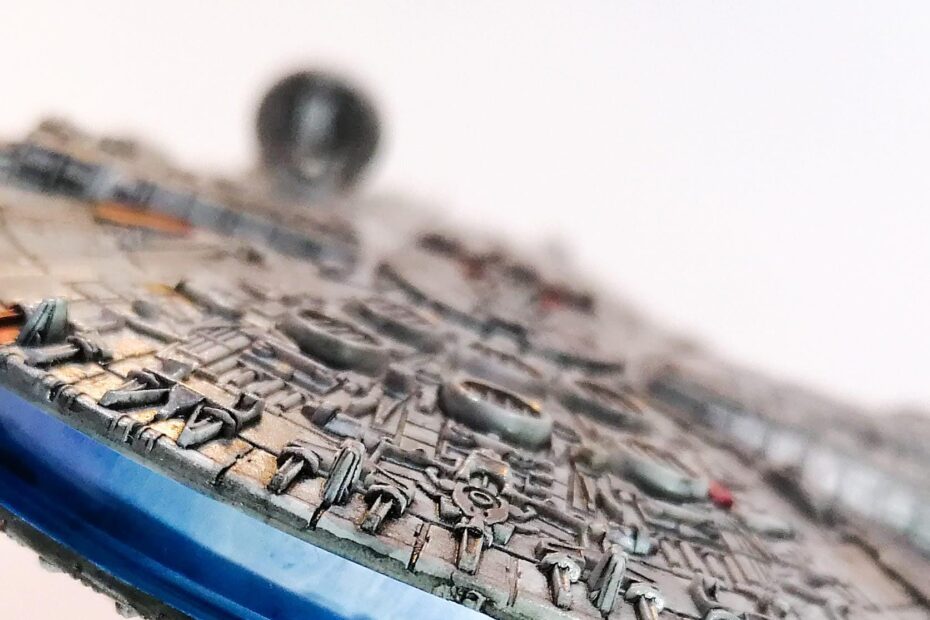
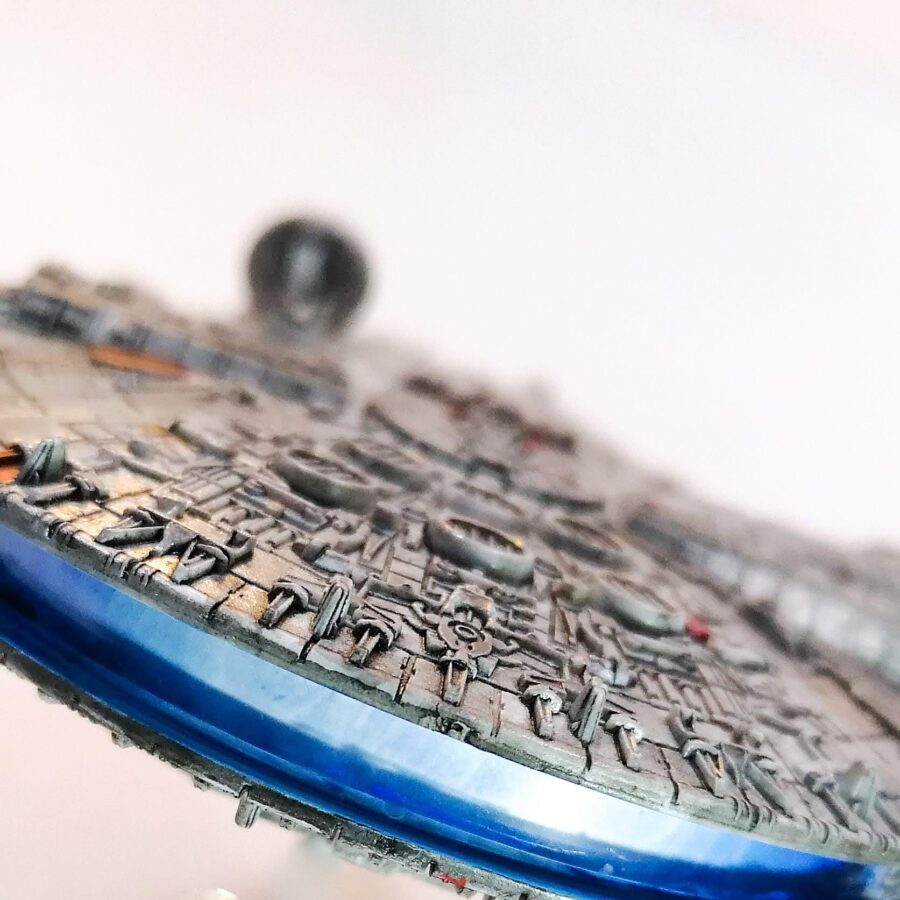
Cleaned up nice
As I applied it and then removed it with a cue tip, the model started to come together. The Millennium Falcon was coming to life.
Suddenly it looked a lot less shit… 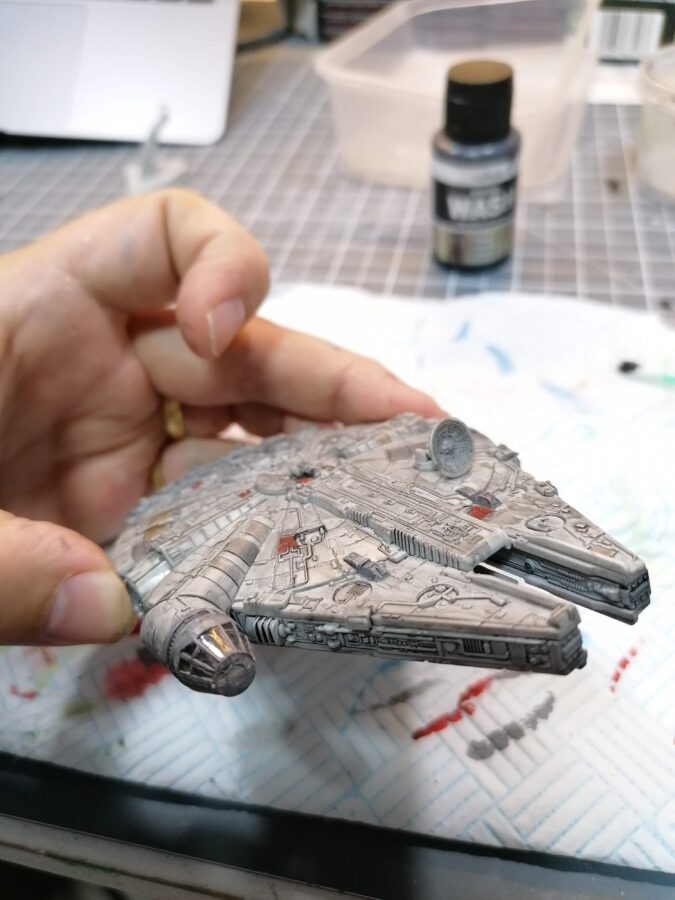
…in fact it actually maybe, even looked good!
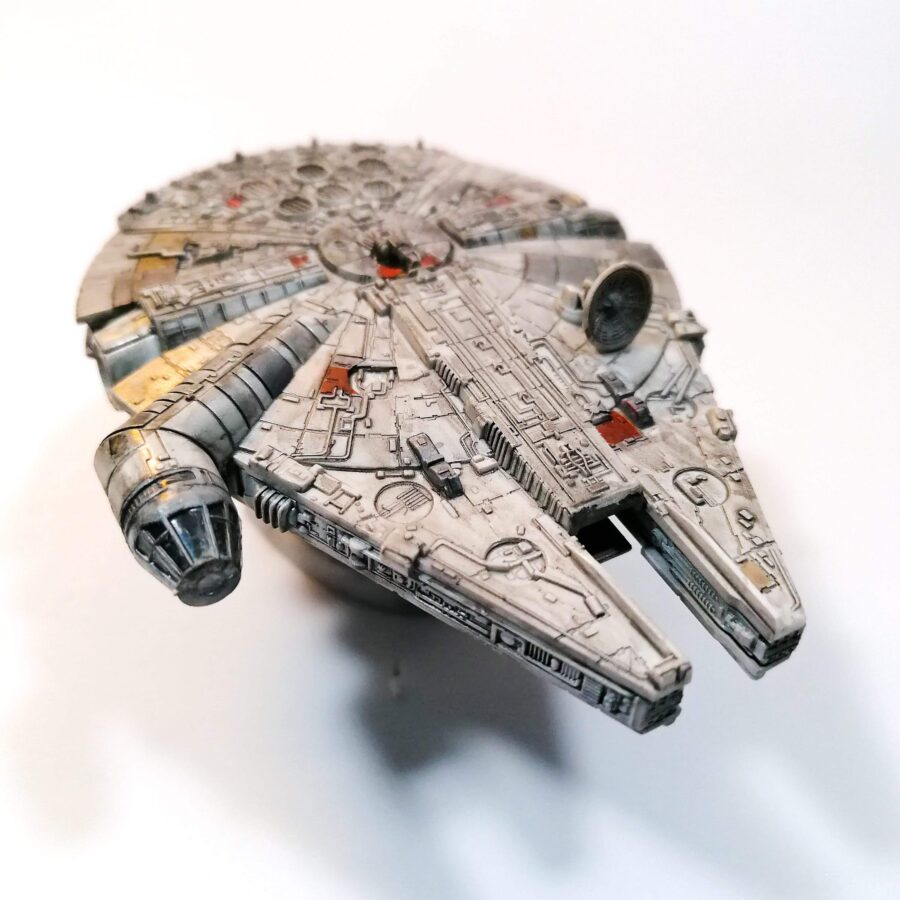
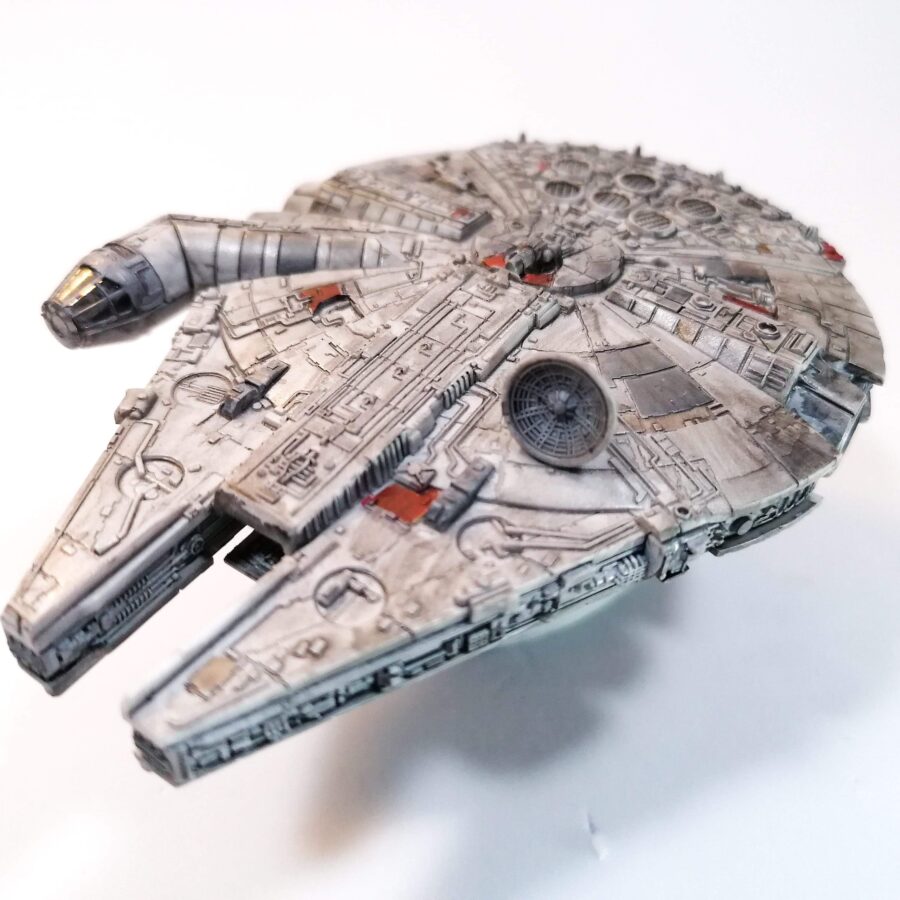
And done…
Some final pictures to enjoy of the finished build.
Wrapping up
Now I have a super cool star wars model that I can show off and that cost me very little. Go pick one up and give a sci-fi build like this a go.
If you’ve not done a sci-fi build before then you can’t really go wrong with this one.
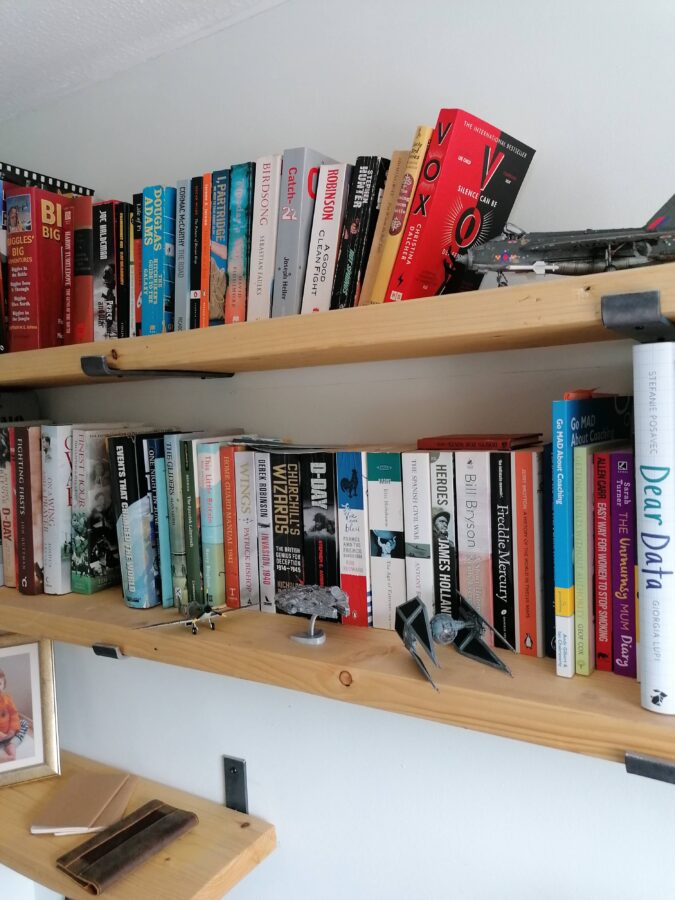
This kit is super tiny but so much fun. It is compact enough to actually fit on a shelf with my 1:72 spitfire, etc.
Next steps
I have a real want to do more sci-fi stuff. Maybe an other star wars kit, maybe something else. I have already picked out a Gundam kit to build.
More on that to come and in the mean time you can get updates on any progress my following me on Instagram.