When all you have is one-half of a one-car garage, you need to think hard about how to make the most of the space. A new house though, needs a new workspace and workbench – even if it has to be compact.
The objective
Having recently converted half of our small garage into a utility room and downstairs loo. I was left with a messy store room that was dead space in the house. So I decided to turn it into a useful space that was nice to work in.
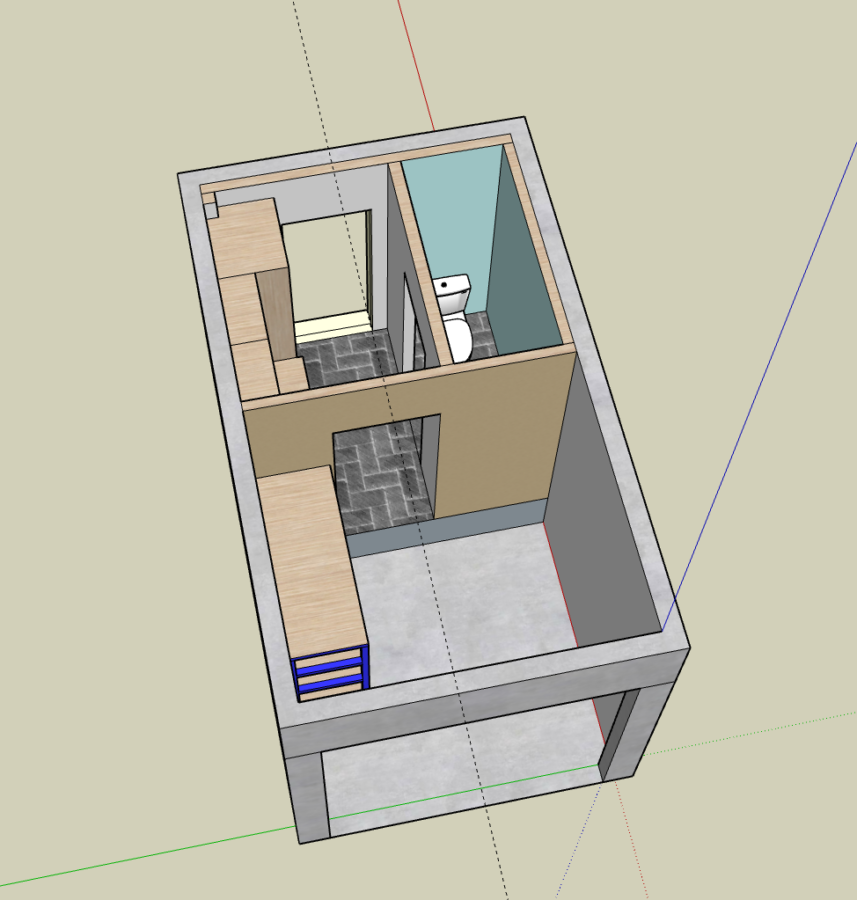
The garage conversion showing the available space left in this one car garage
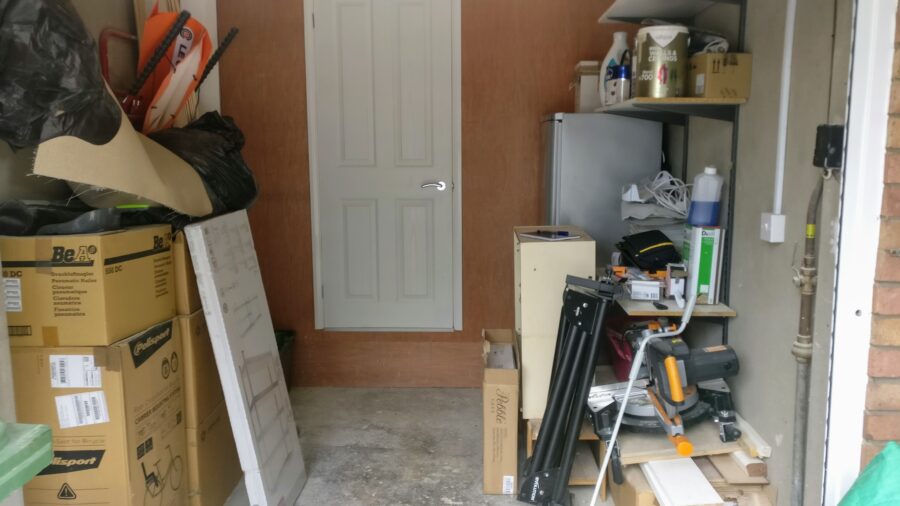
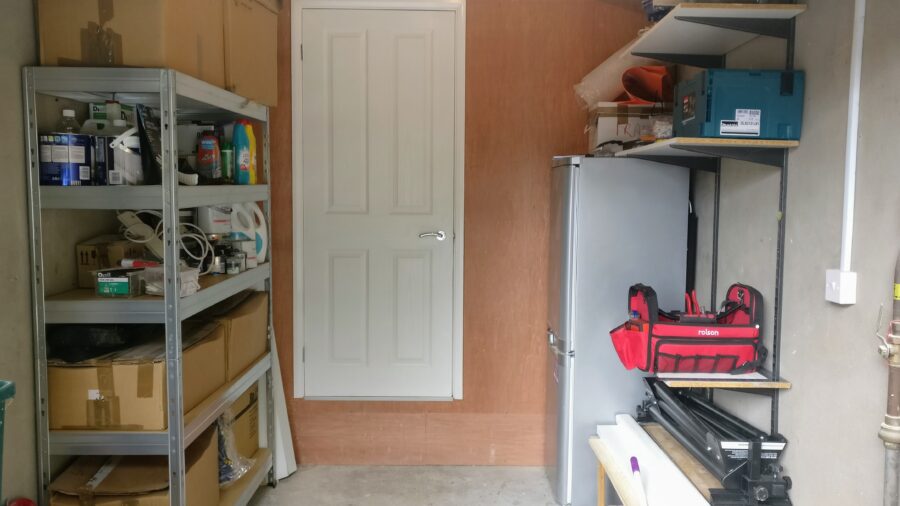
The space
As you can see, it was your basic box room with stuff in it scenario. A few leftover shelves on one wall from the previous owner, and a pile of things needing order. So I modeled the space using SketchUp3D to make sure I knew just how much room I had for storage and a workbench.
The “workshop” 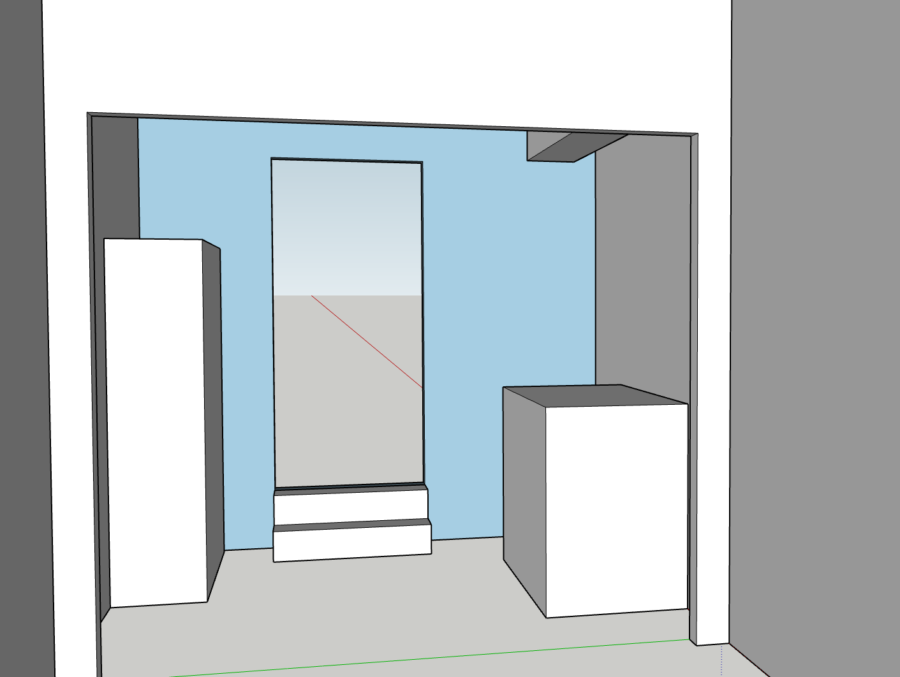
A virtual representation
Designing a workbench
I did some research, I read a few articles like this one. I found some designs I liked and decided to use 2x4s for the EVERYTHING with 18mm MDF for the shelves and worktop. I then spent some time in SketchUp getting a design together that had everything I wanted.
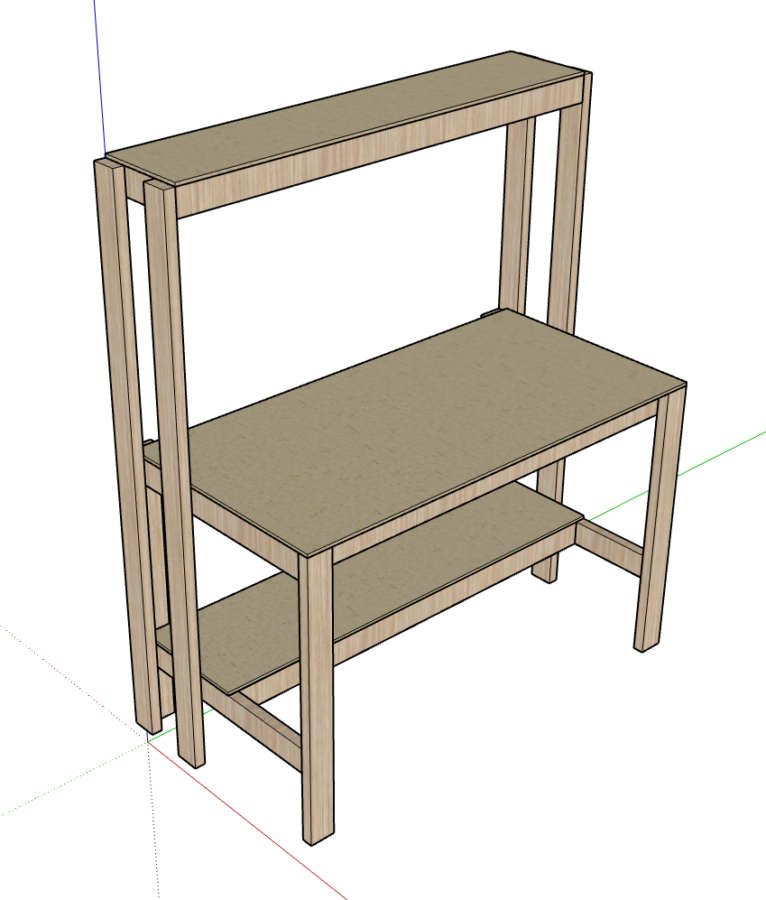
Workbench version 1.0 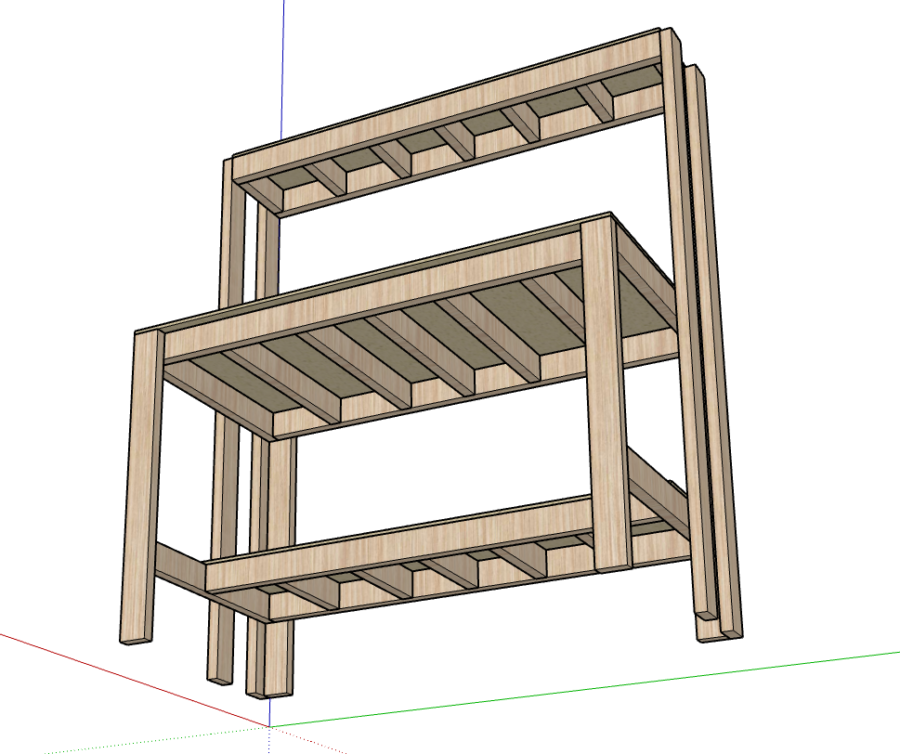
And a view from beneath
Designing a simpler workbench
I started to realise I was maybe overcomplicating and overengineering.
- The top shelf and back to add peg board to, were extra effort and cost and not something I really needed yet – plus I had an idea…
- The bottom shelf if made a bit deeper would reduce the number of cuts of the sheet of the MDF sheet I’d be buying – and I could get this cut for me at B&Q for free (so the pieces would fit in my car).
- The number of supports under the worktop was far greater than it actually needed.
- By adjusting a few dimentions I was able to reduce the number of 2×4 I’d have to order by nearly a third.
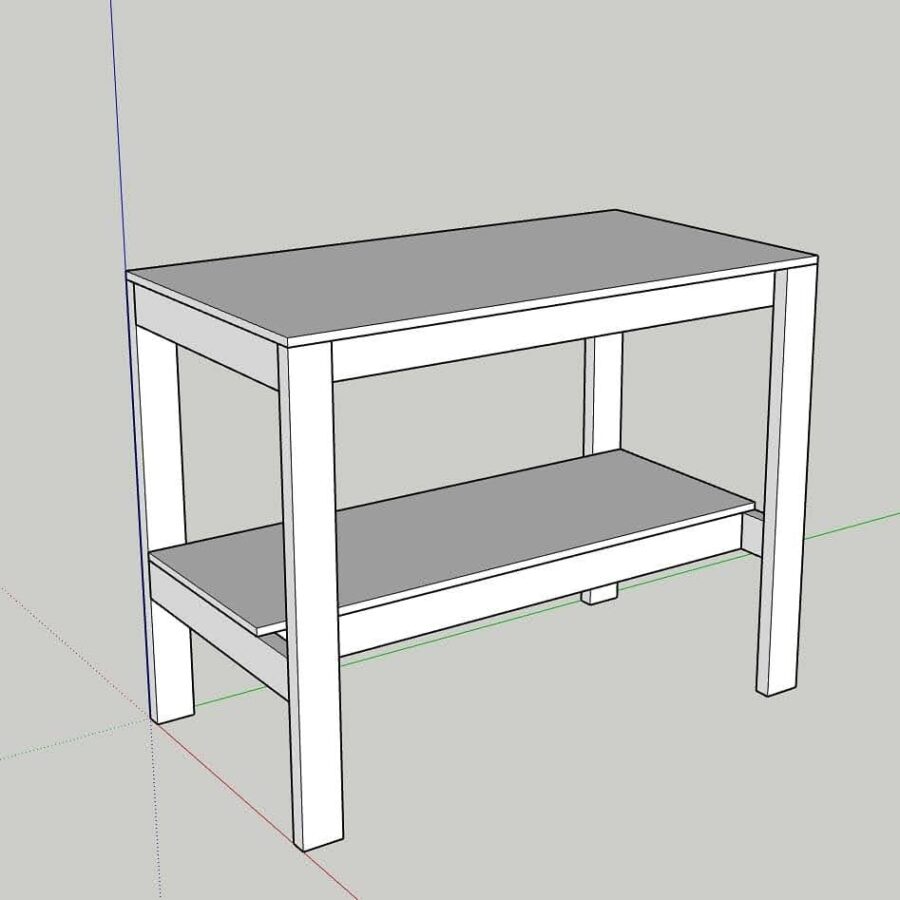
Workbench version 2.0 (simplified) 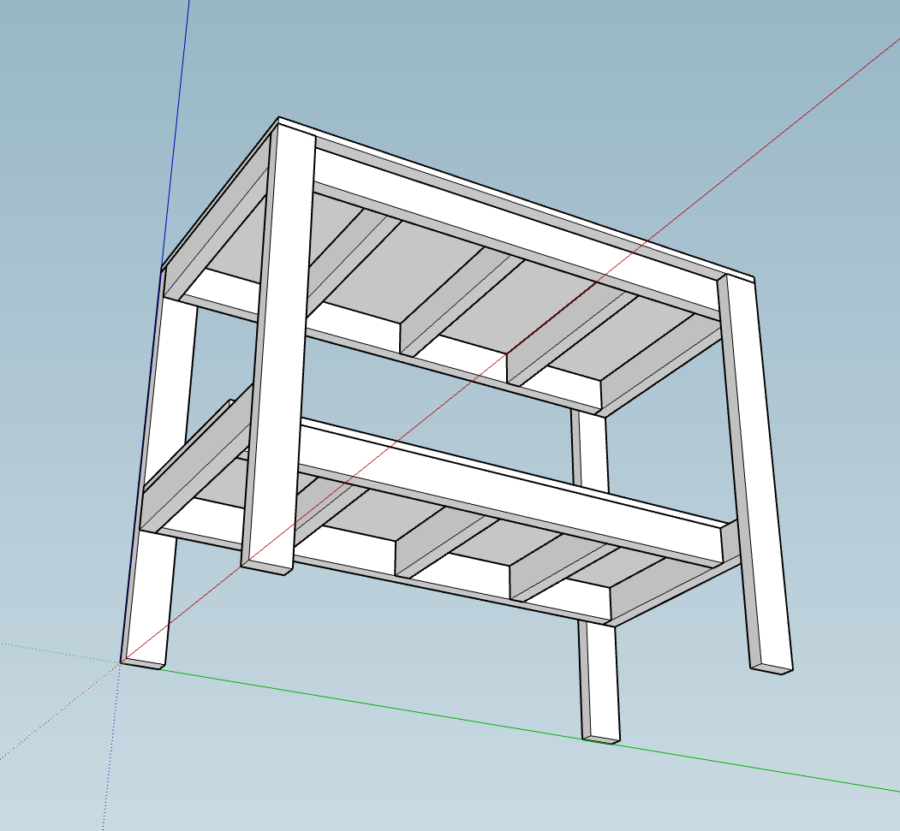
And a view from beneath (fewer supports)
Chop chop
I broke out the Mitre Saw and stand (as purchased for my decking project). I followed my cut list and got everything cut in one session.
I started assembly of the top and bottom frames on the flatest bit of the garage floor. I did my best to make the wonky lumber as straight and square as possible. I predrilled and use my impact driver to secure everything with butt joints.
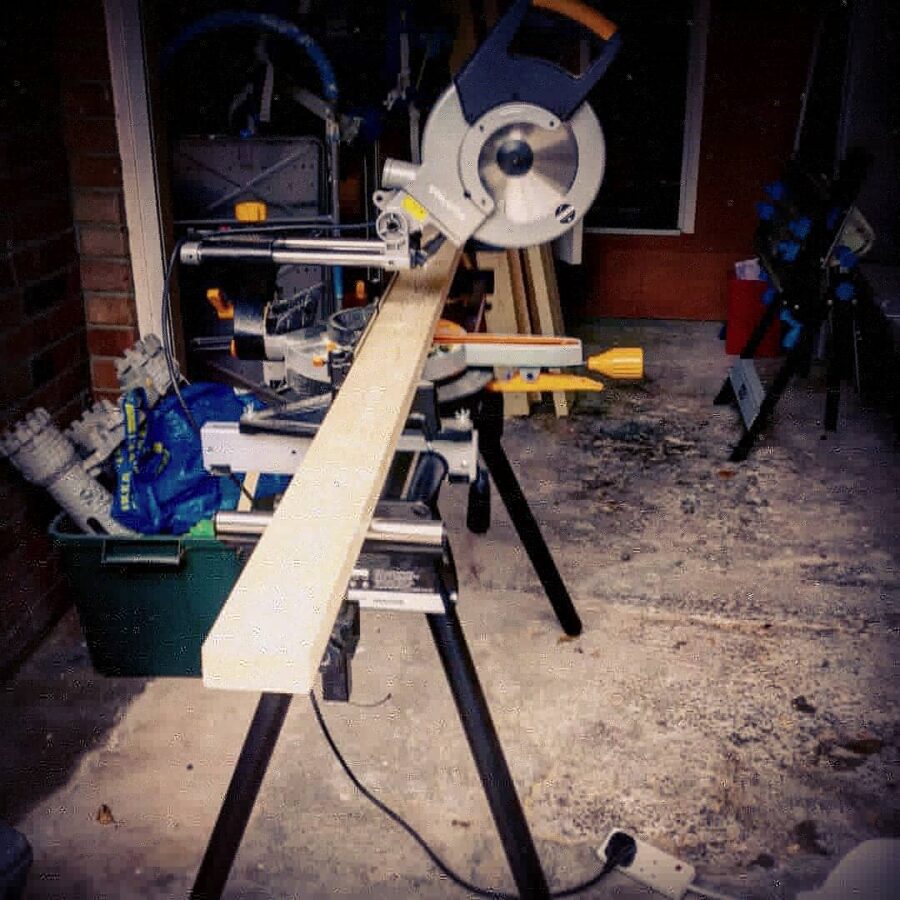
Breaking out my newly purchased Mitre saw for the job 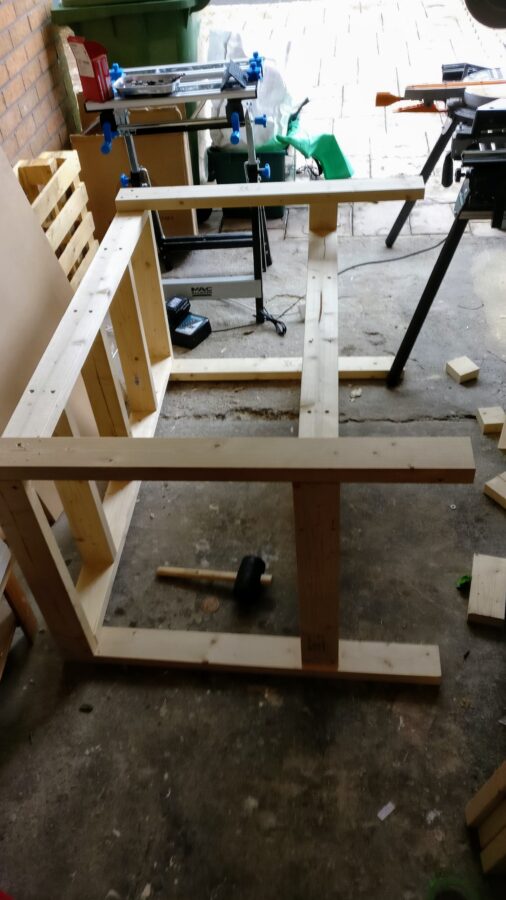
Coming together nicely
The legs were screwed into place followed by the MDF sheets. I countersunk the holes in the worktop to avoid having screws that might snag or scratch anything standing proud.
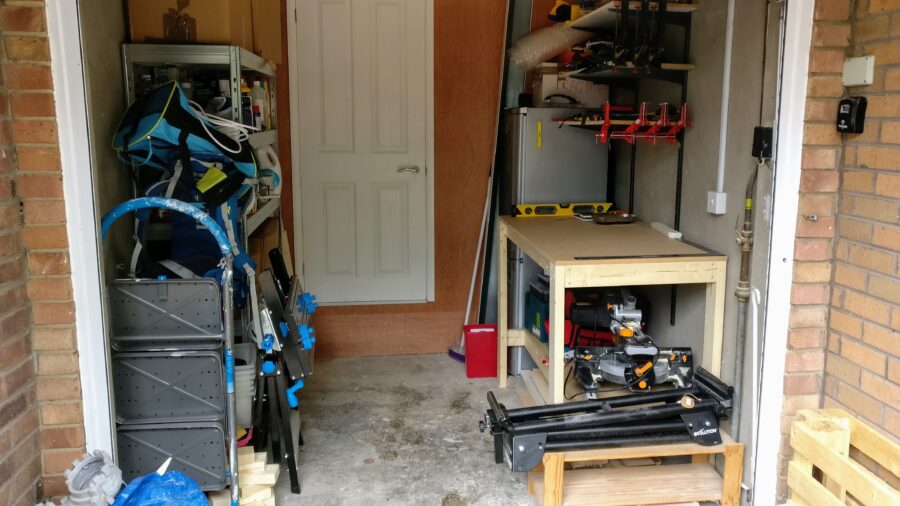
Getting organised
I picked up a set of garage shelves from B&Q to at least try to bring some order to the chaos on the opposite side of the garage.
Garage shelving solves the first part of the problem
I kept the shelves from before and just moved them up. They gave me much of the functionality that the original design had but without any effort or cost.
The deeper bottom shelf was now also large enough for some of my larger tools – like the mitre saw and Makita Systainer box.
After
Making it prettier
As some final touches, I painted the MDF worktop white and sealed it. This was to help keep it clean and improve durability a little. I also installed a cheap IKEA Led downlight under the bottom shelf.
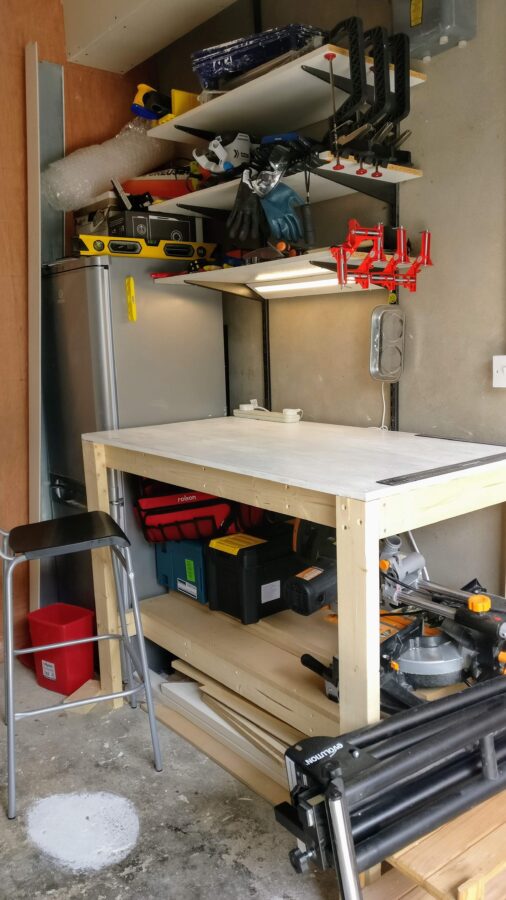
The completed workbench – the shelves are much businer now
Mind the step
You may have noticed in some of the previous pictures the drop from the doorway into the house to the garage floor was nearly a foot. So using leftover 2×4 I designed and threw together a quick set of sturdy steps to make it a little more civilised.
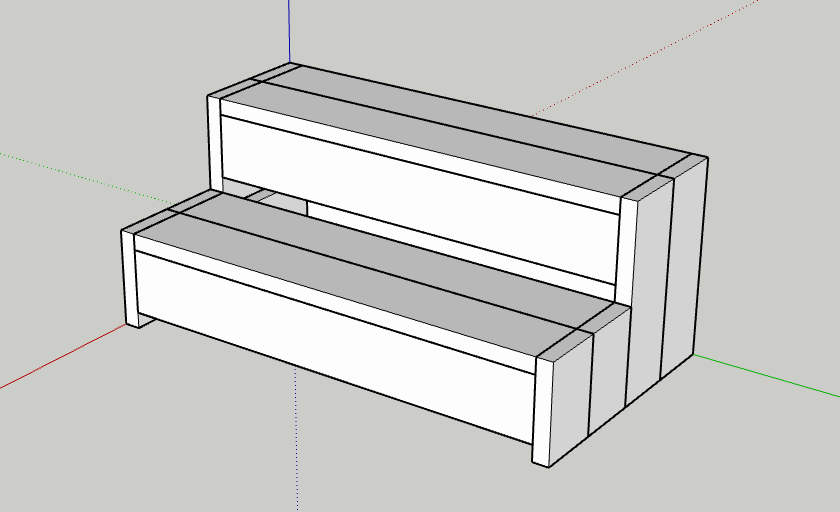
Designing steps from leftover 2×4 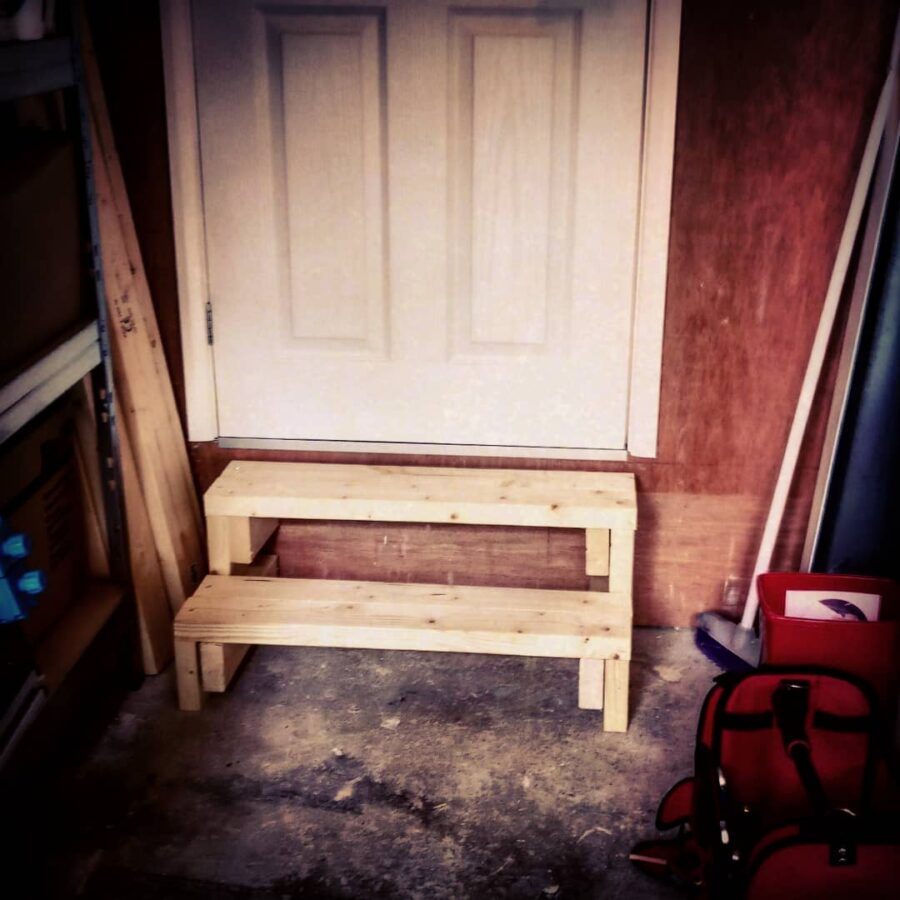
The completed workshop steps
Wrapping up
Building a workbench and organising the garage has made the space somewhere I actually enjoy using. It’s become a great hobby space as well as a workshop. As you can see inb the image below, I’ve been busy collecting tools and making use of workshop.
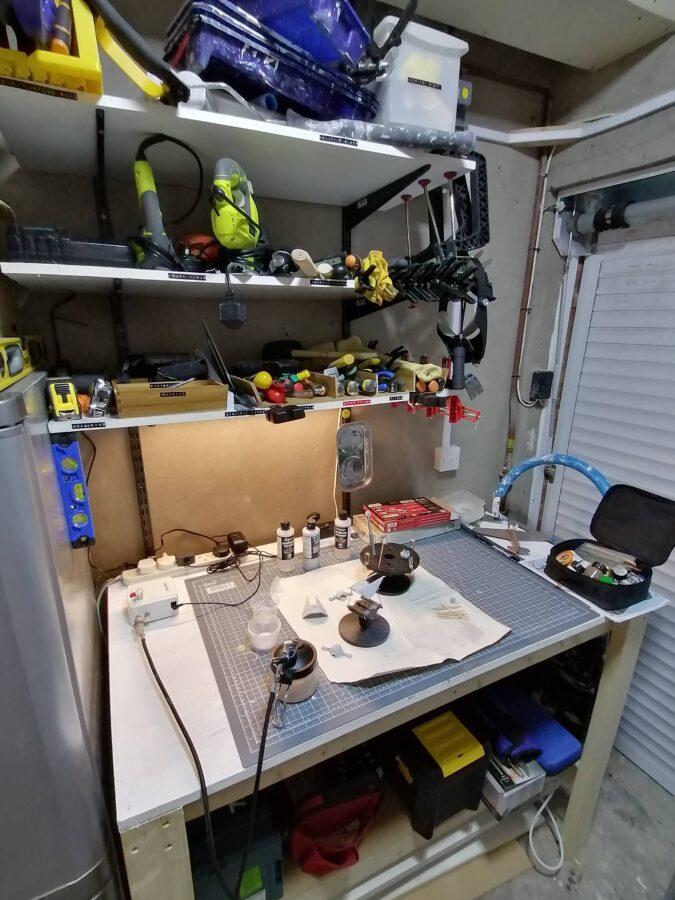
Perfect for hobbies and crafts