I was worried we’d have to replace the deck on our new house within a year of moving in. Instead I was able to repair it in less than two hours with some basic tools.
I was worried I’d have to replace the deck on our nexw house within a year of moving in. Instead I repairedit in less than two hours with some basic tools.
The problem
Stepping out of our house onto the deck had become an issue. Something had clearly given way and the entire thing flexed as you put weight on it.
Prying up the first few boards showed that was wrong. The ledger board had completly rotten. There was no protection between it and the wall – no flashing or anything – and water flowing off the deck and conservatory had simply soaked into it over the years. It was unsaveable.
There was therefore nothing for the decking supports screwed into it to actually stay attached to. So either I had a major reconstruction on my hands or I had to be creative. Thankfully my dad was around with years of experience to call upon and solution was soon provided.
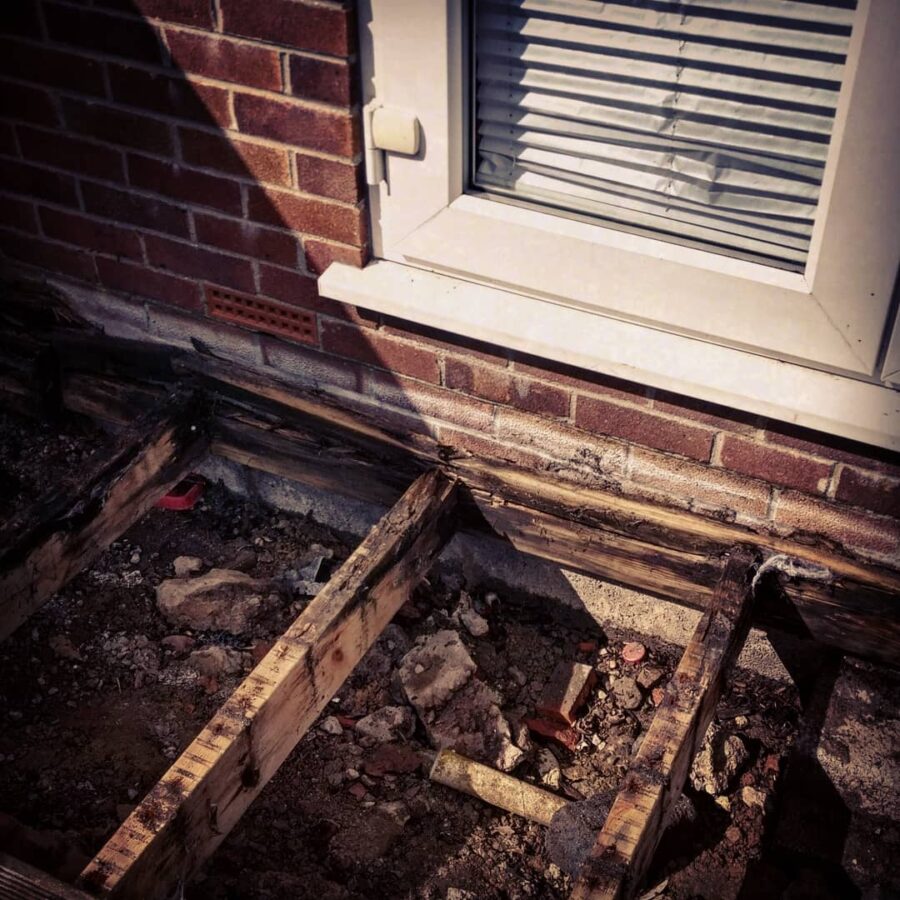
There’s your problem…
The solution
Ignore the ledger entirely. Its unsavable and the ends of the supports nearest to it are not much better.
Instead we should create a new foundation. We’d overlap new supports along the length of the existing supports firmly anchored into the good wood away from the walls. And then the whole thing could be jacked up and new supports put into place.
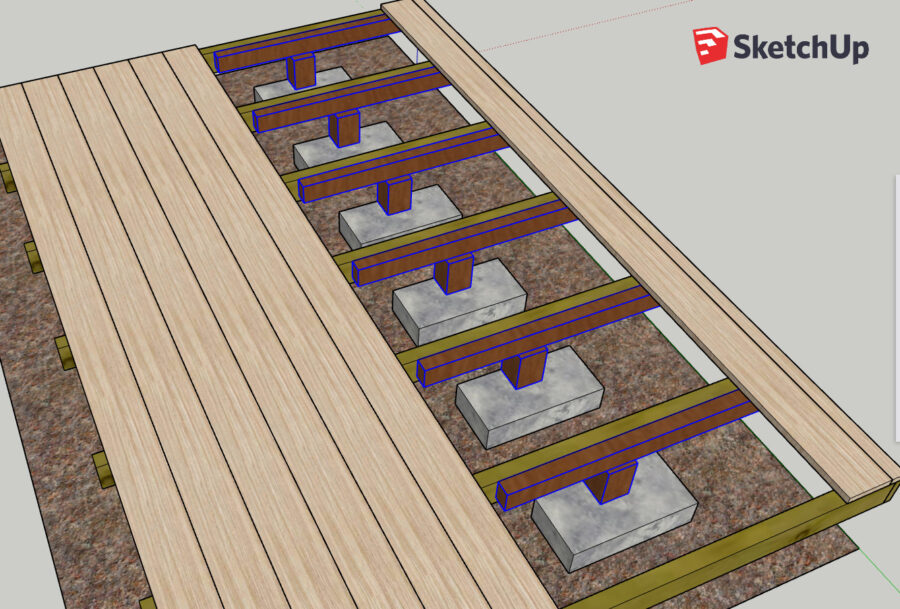
A SketchUP 3D model I created to help me calculate quantities and order of operations
Jack attack
A bottle jack placed under each of the new support reinfocemets in turn allowed me to raise them to just above the horizontal. I then firmly placed a block underneath and tamped it into place with a soft mallet to bed it.
From here I just had to measure the gap and using my mitre saw (an Evolution 255mm model with stand I picked up second hand on Facebook Marketplace) cut lengths of fence post to length.
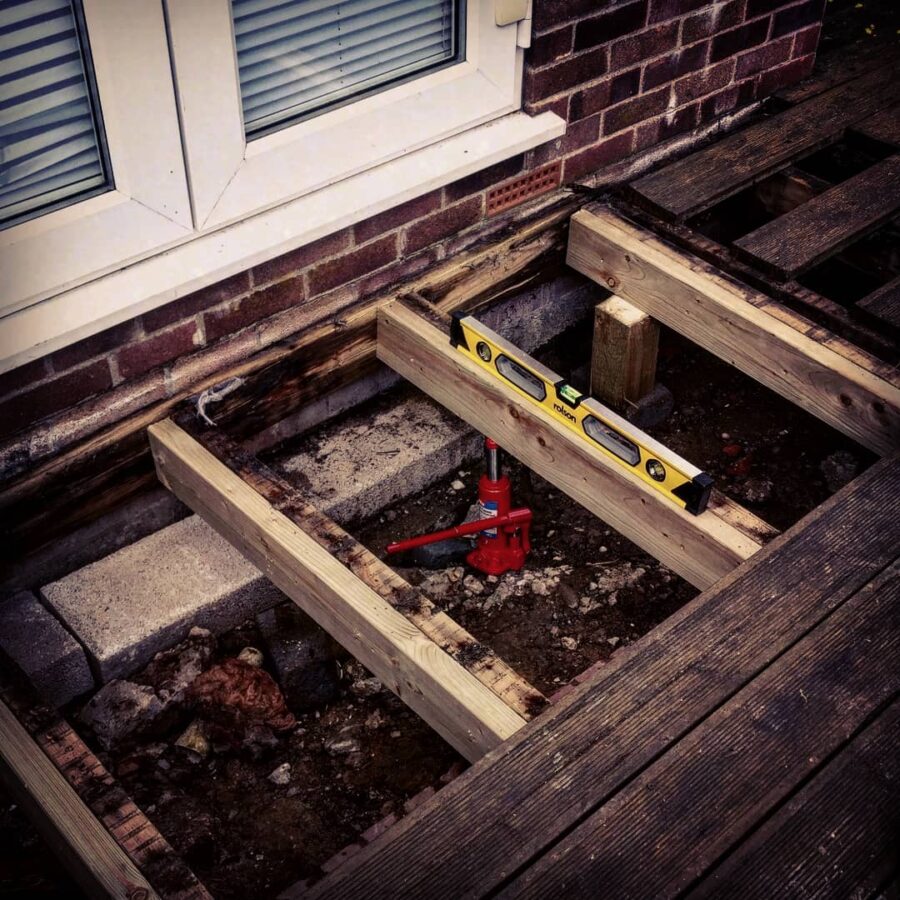
Bottle jack and a level
I deliberately cut each piece at a very slight mitre. This meant I could gently tap it with a mallet from the side to get the perfect height and further adjust (very carefully) once the jack was lowered. Again I need to thank my dad for this clever idea – the man is a wealth of institutional knowledge of making and fixing things.
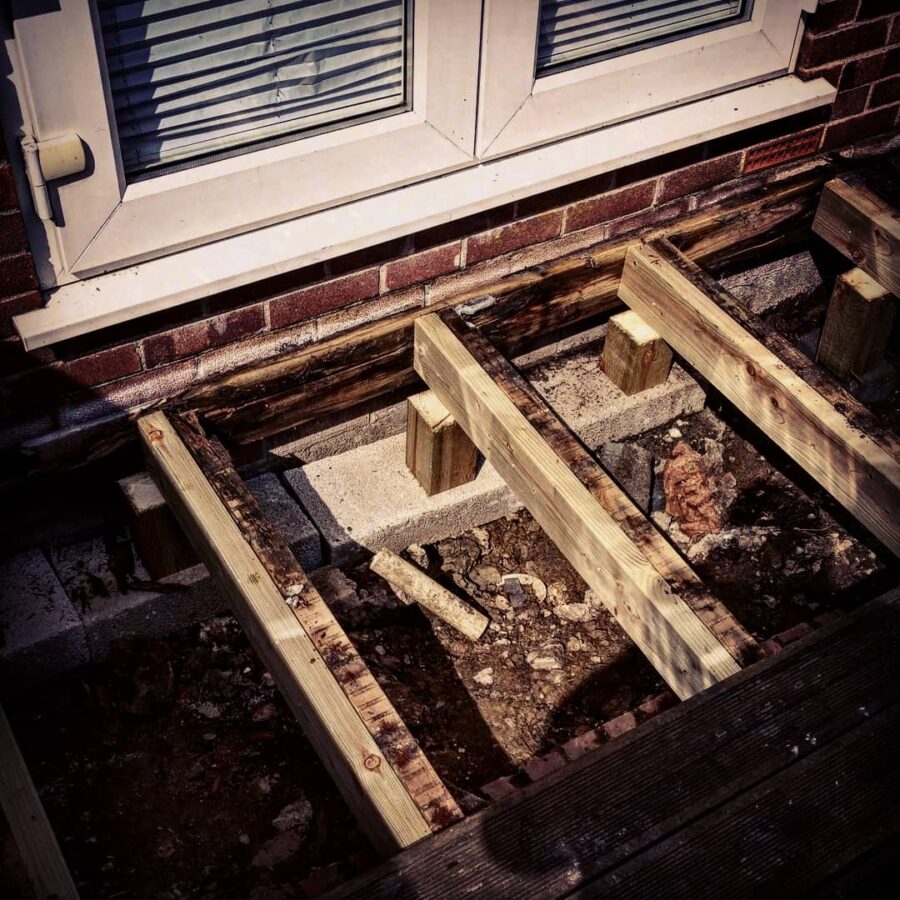
Breeze-blocks and a small amount of treated timber
Calling it done
With each support now stable and levelled I could replace the existing boards. I removed all of the screws and drilled and placed fresh screws into the new timber supports. The result is a deck that looks good as … it always did. But hey, it doesn’t feel like it’s about to collapse every time you step out of the house, right?
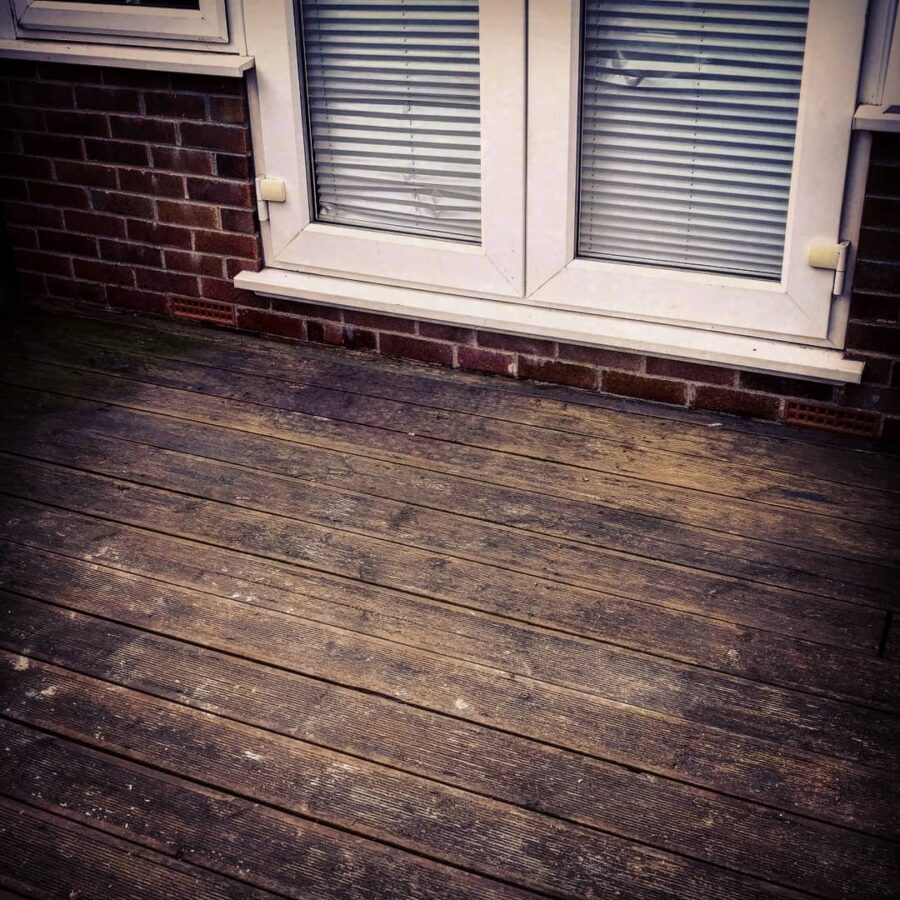
And you’d never know
Wrapping up
For very little money and a morning of effort a broken deck was given a stay of execution and bought a few more years use. Not a clean job. Not a true fix. But sometimes you need to balance investment of cost and labour against the impact. And in this case i think the quick fix was the right one.
Next steps
As you can tell from the pics, the deck also needs scrubbing, power washing, resealing and some general maintenance. There are plenty of boards a little loose. But this should get us through a few more years of use before we have to invest in replacing it and allow us more time to get to know the house and what we want to do with this space.